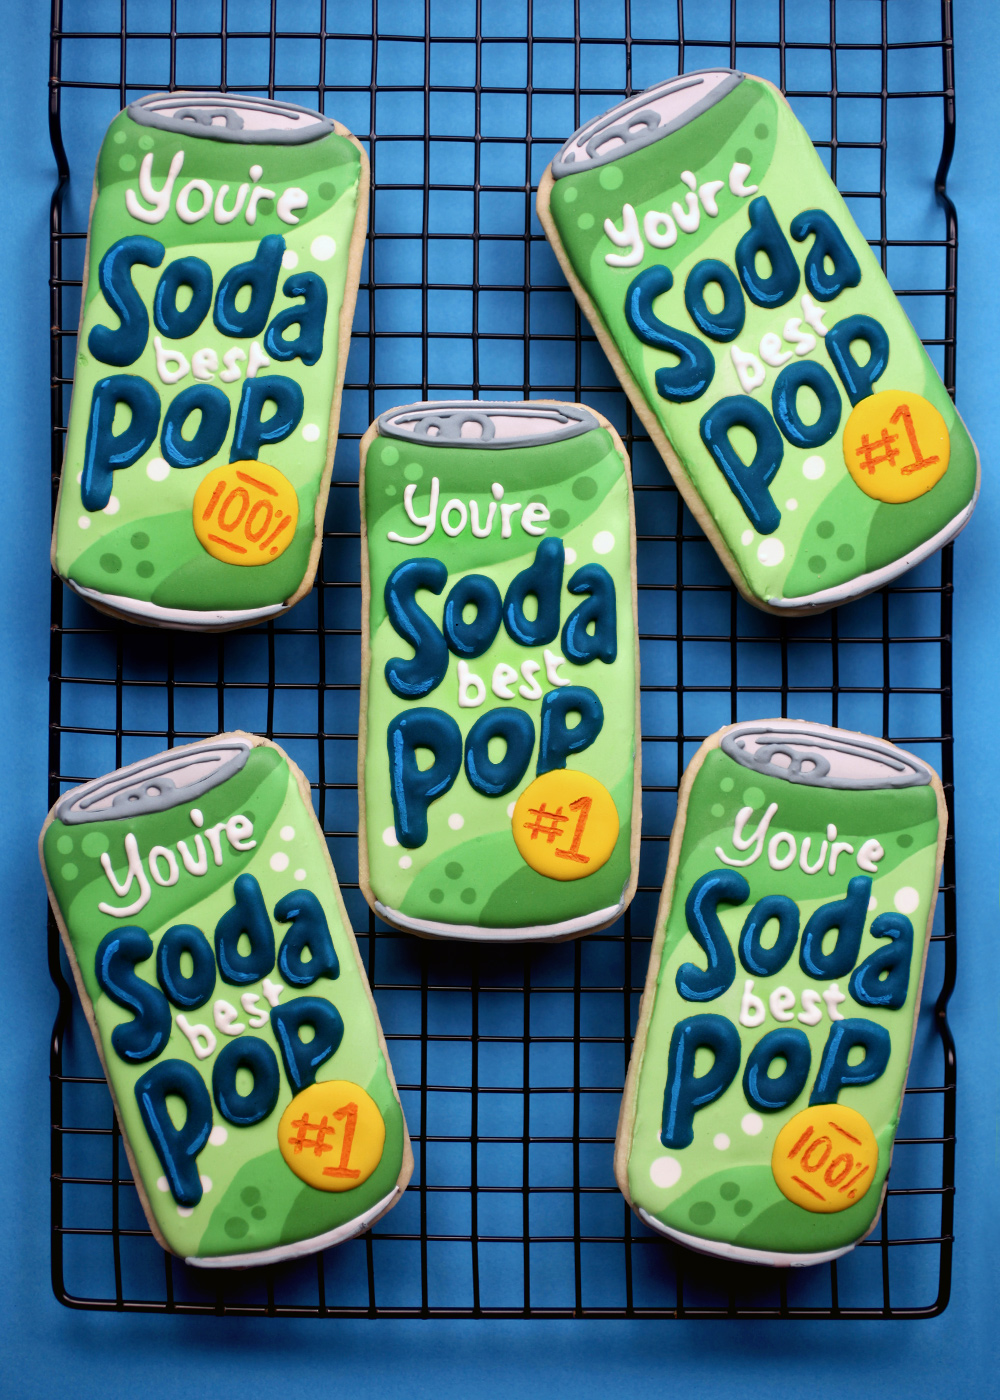
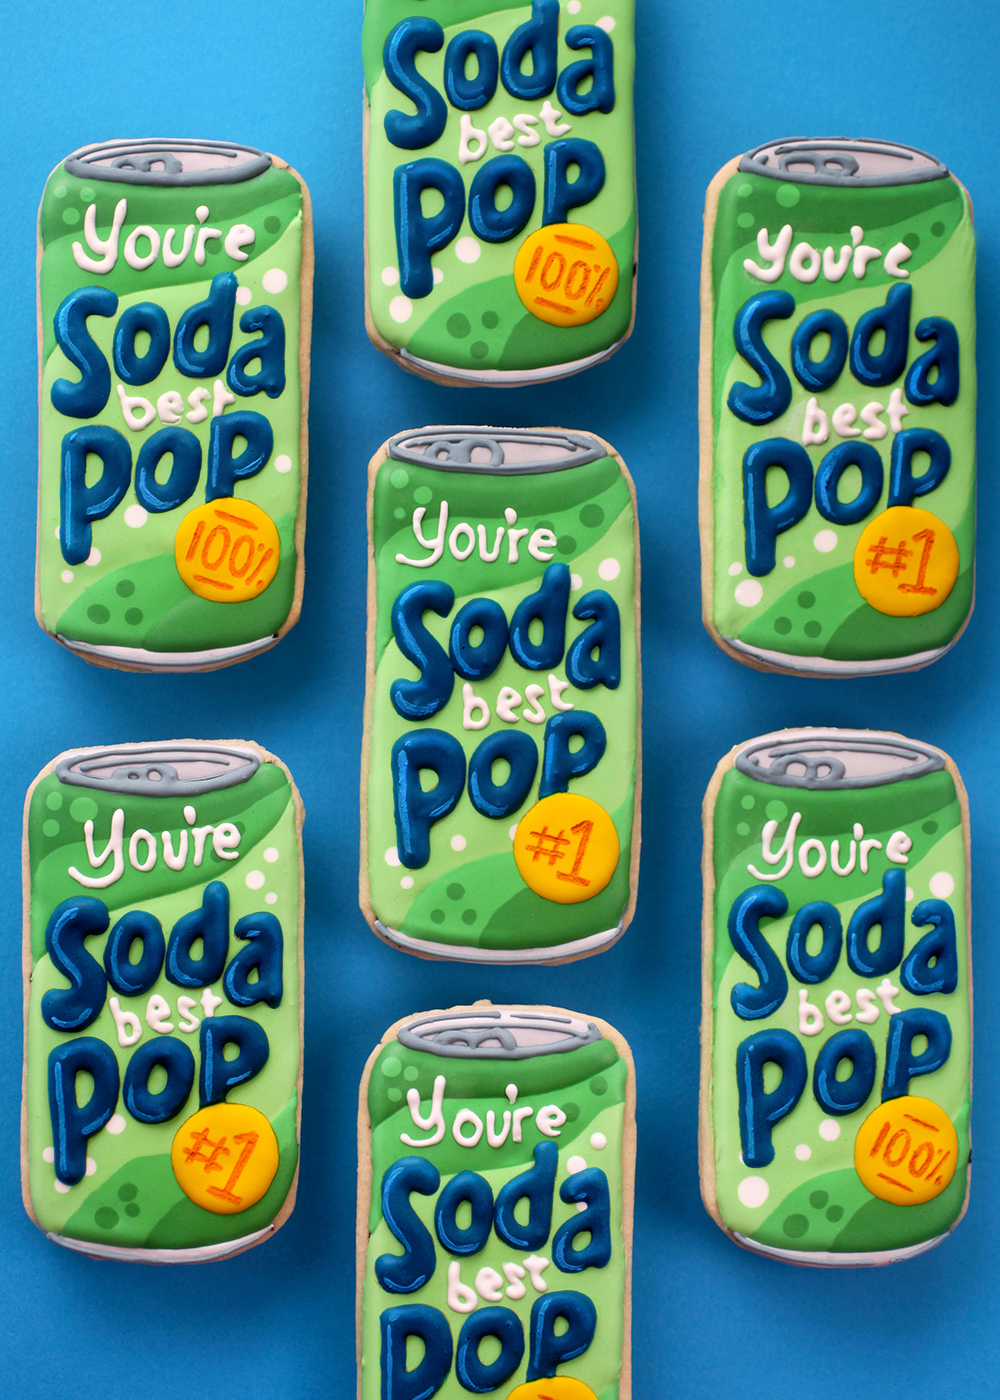
Enjoy these refreshing cookies for Father’s Day! They’re jumbo sugar cookies decorated with royal icing and they’re a fun way to tell Dad he’s the best pop around.
First off make some cookie dough. I used this Sugar Cookie Recipe from Bake at 350. It’s a keeper and I use it whenever I make sugar cookies. The recipe makes 9 of these jumbo cookies. Ten if you rolled them a little thinner.
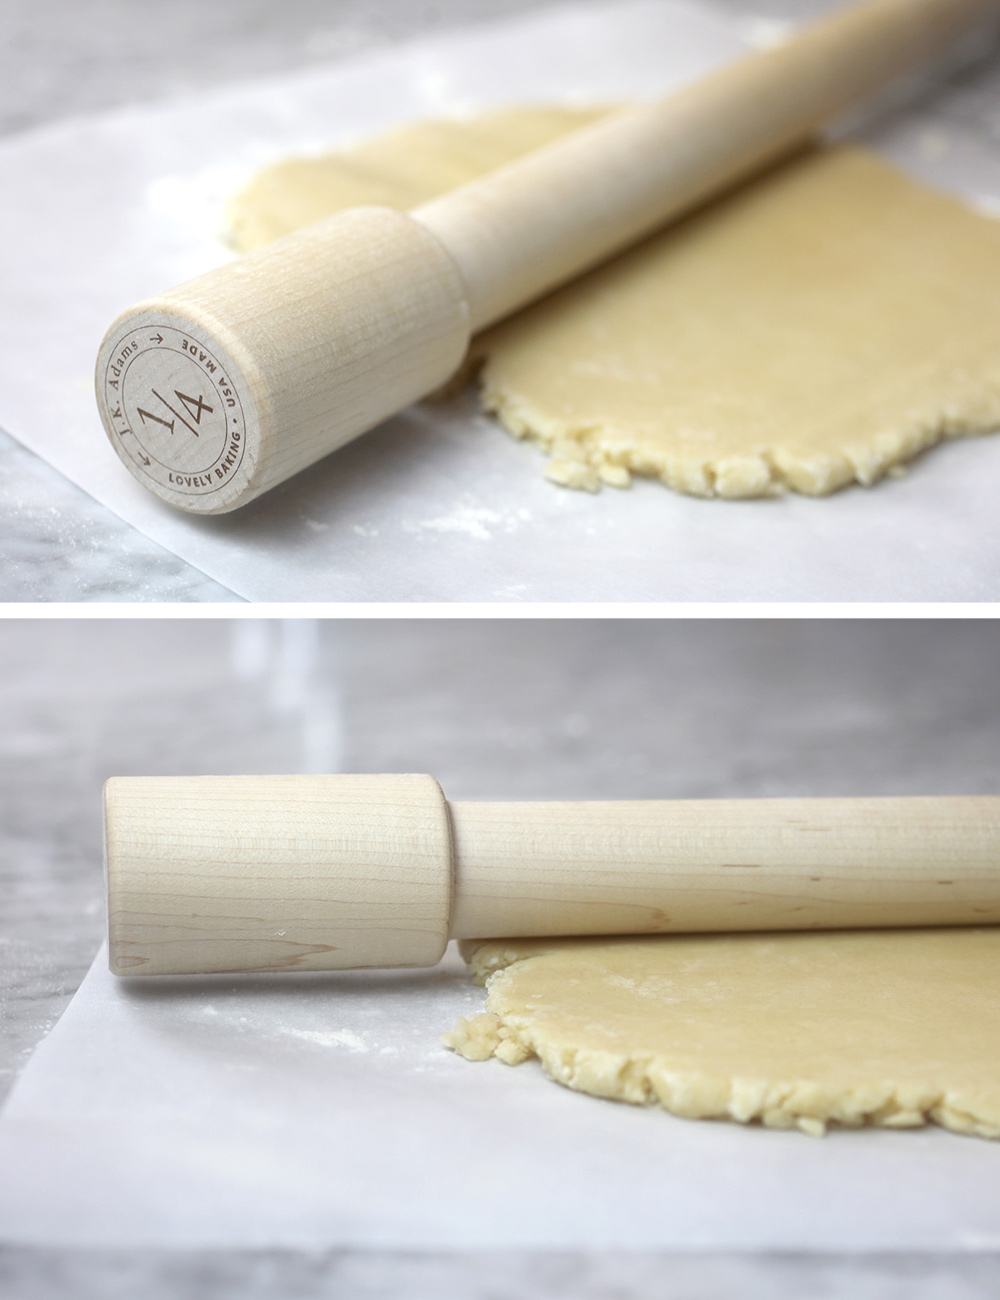
I used this awesome rolling pin to roll out the cookie dough. A new fave I recently bought from Food52. It rolls perfectly even, quarter-inch-thick cookies. I have always used a rolling pin and added those thick rubber bands on the ends to help keep my cookie thicknesses the same, but this one is much more convenient and I love it so far.
Now, I’ll admit that these cookies are not the quickest to make because of the multiple colors and drying time needed, but I couldn’t resist trying to make them after this soda pop pun popped in my head. If you’re a cookie decorating pro, they’ll probably be a breeze for you, though. I’m not, so I made a template for my idea to make the decorating easier.
I highly recommend downloading this template for yourself if you decide to give them a go.
- Cut out the soda can from the paper template with scissors.
- Roll out cookie dough and use a straight edge to cut the dough into rectangular shapes based on the size of the template.
- Then cut out the corners of the can from the paper template and use a knife to cut the same corners off from the dough.
I always roll my dough on lightly floured parchment paper so I can easily transfer the cookie cut outs to a baking sheet when they are ready to go in the oven.
Bake them at 350 degrees Fahrenheit for about 15 minutes and let cool completely.
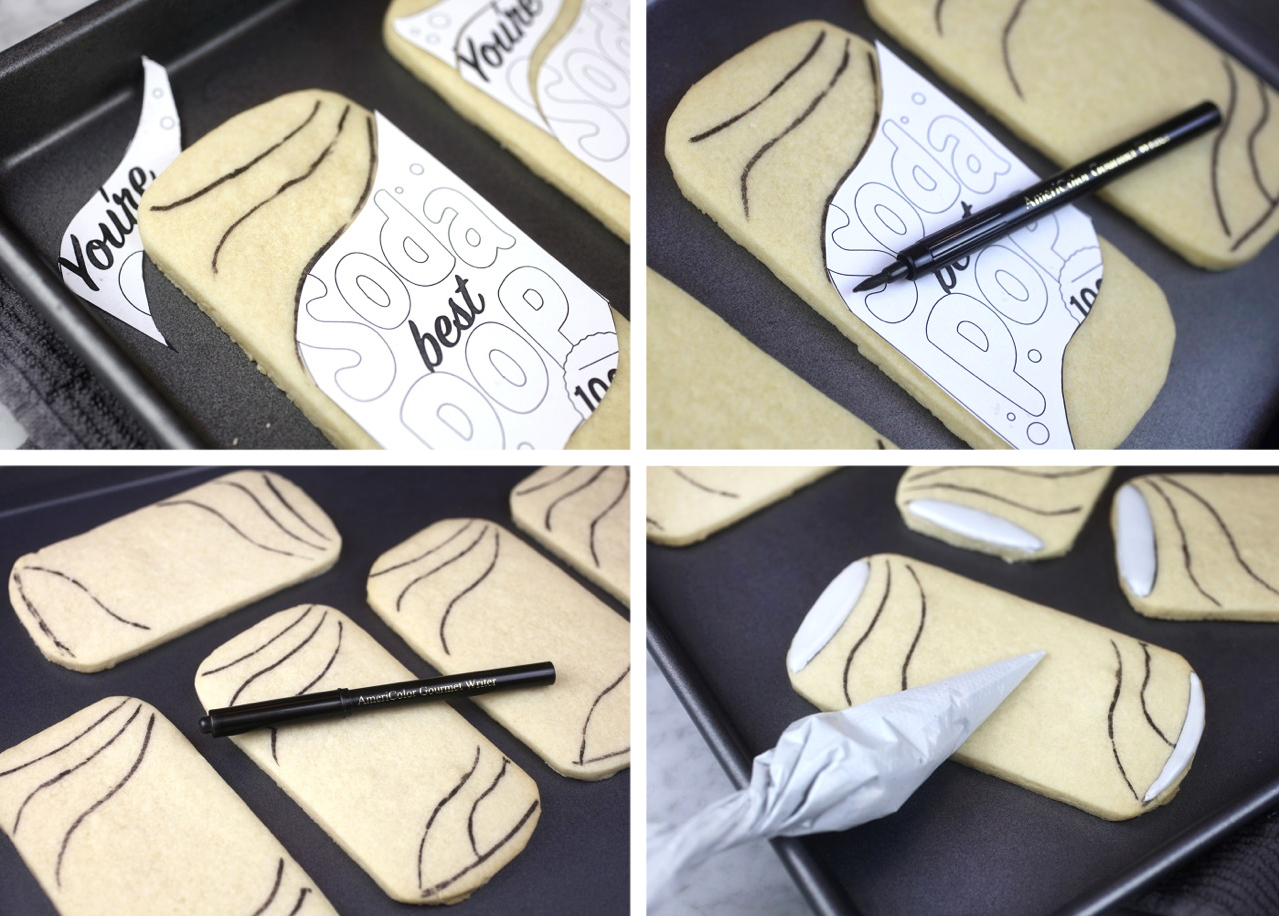
Now for the next step. I used the same template and cut it into sections to use as a piping guide. Just trace each section on the cookie with a black edible ink pen. This was super helpful for me because there is no way I could have gotten them all to look similar without it.
Now, you’ll need some royal icing. You can use the same recipe from here.
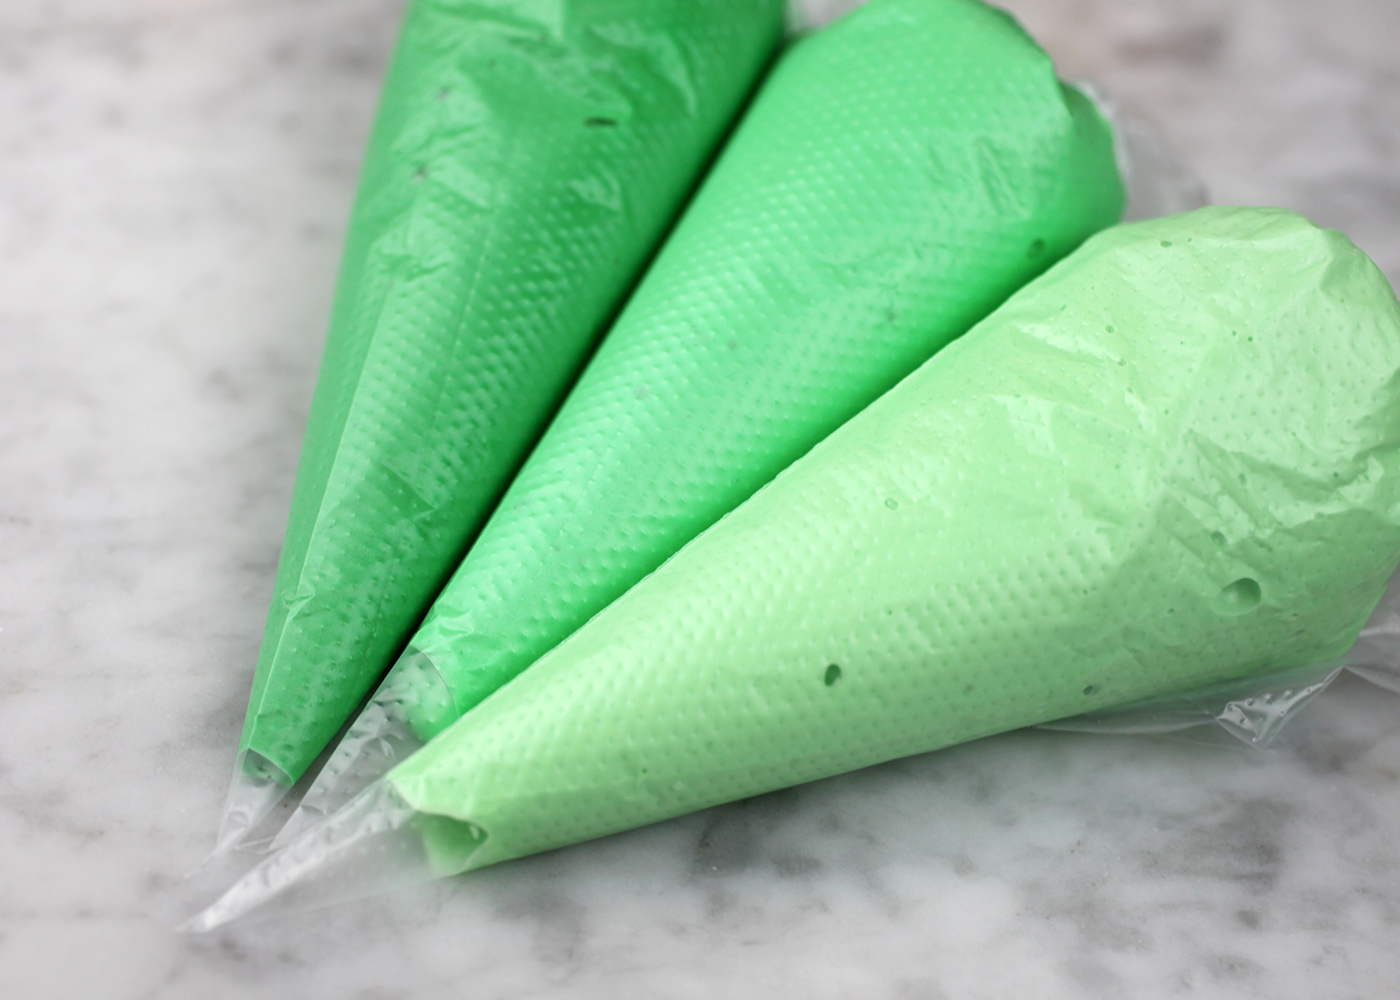
I left some of the icing white, tinted some gray and then tinted three shades of green to get started. If you’re careful and good at cookie icing planning, you can get all the colors you need out of one batch of icing.
These cookies really need to be made over two days, so you can also just make a second batch for the remaining colors when you’re ready …especially if you’re like me and not good at judging how much of each color you’ll need.
Here’s my piping order. (And I basically just played around with icing consistencies to avoid having to pipe the outlines and then come back and fill in with flood icing. To thin icing, you can add a little water and to thicken it, you can add a little powdered sugar.)
Okay, first I piped the lid and bottom of the can using tinted gray royal icing.
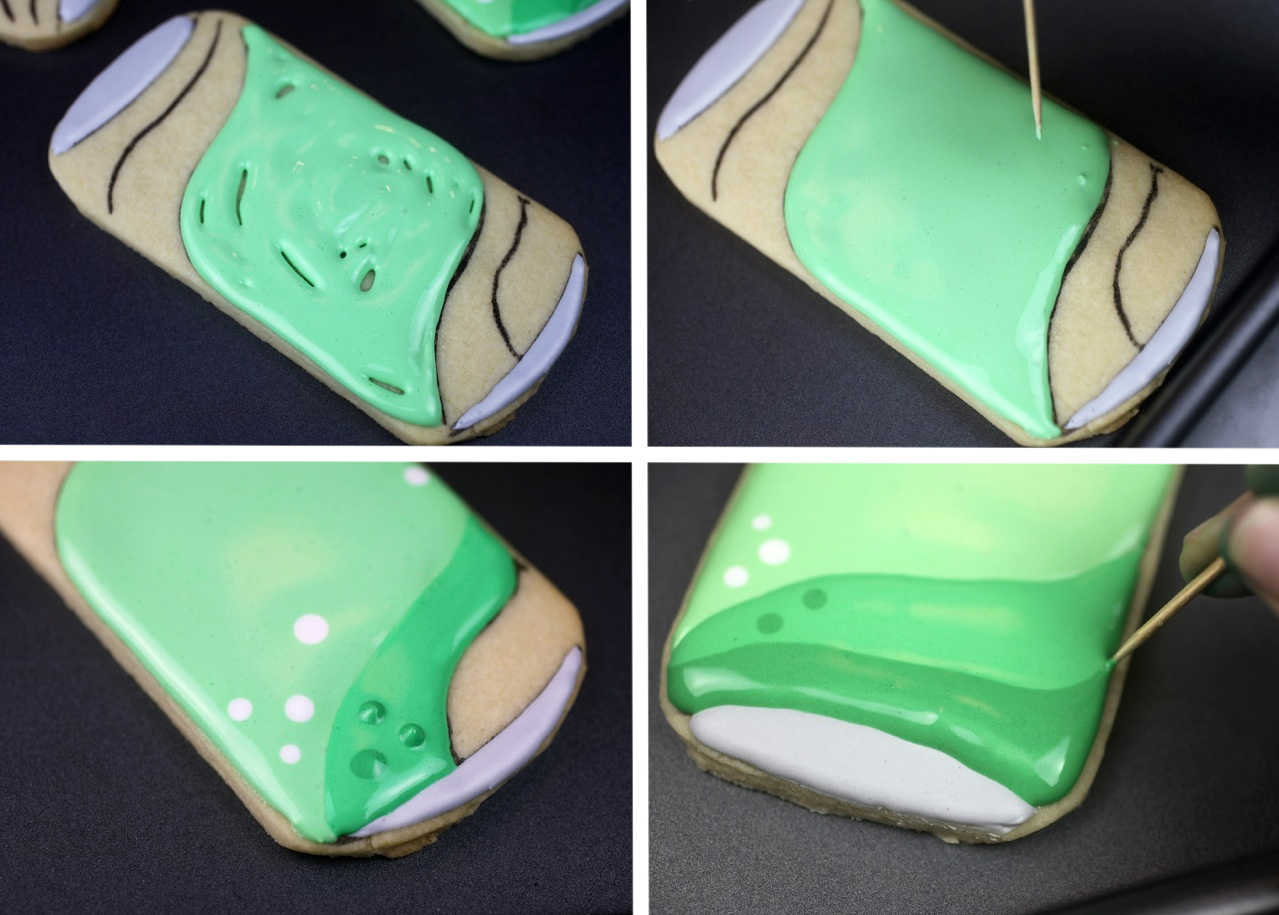
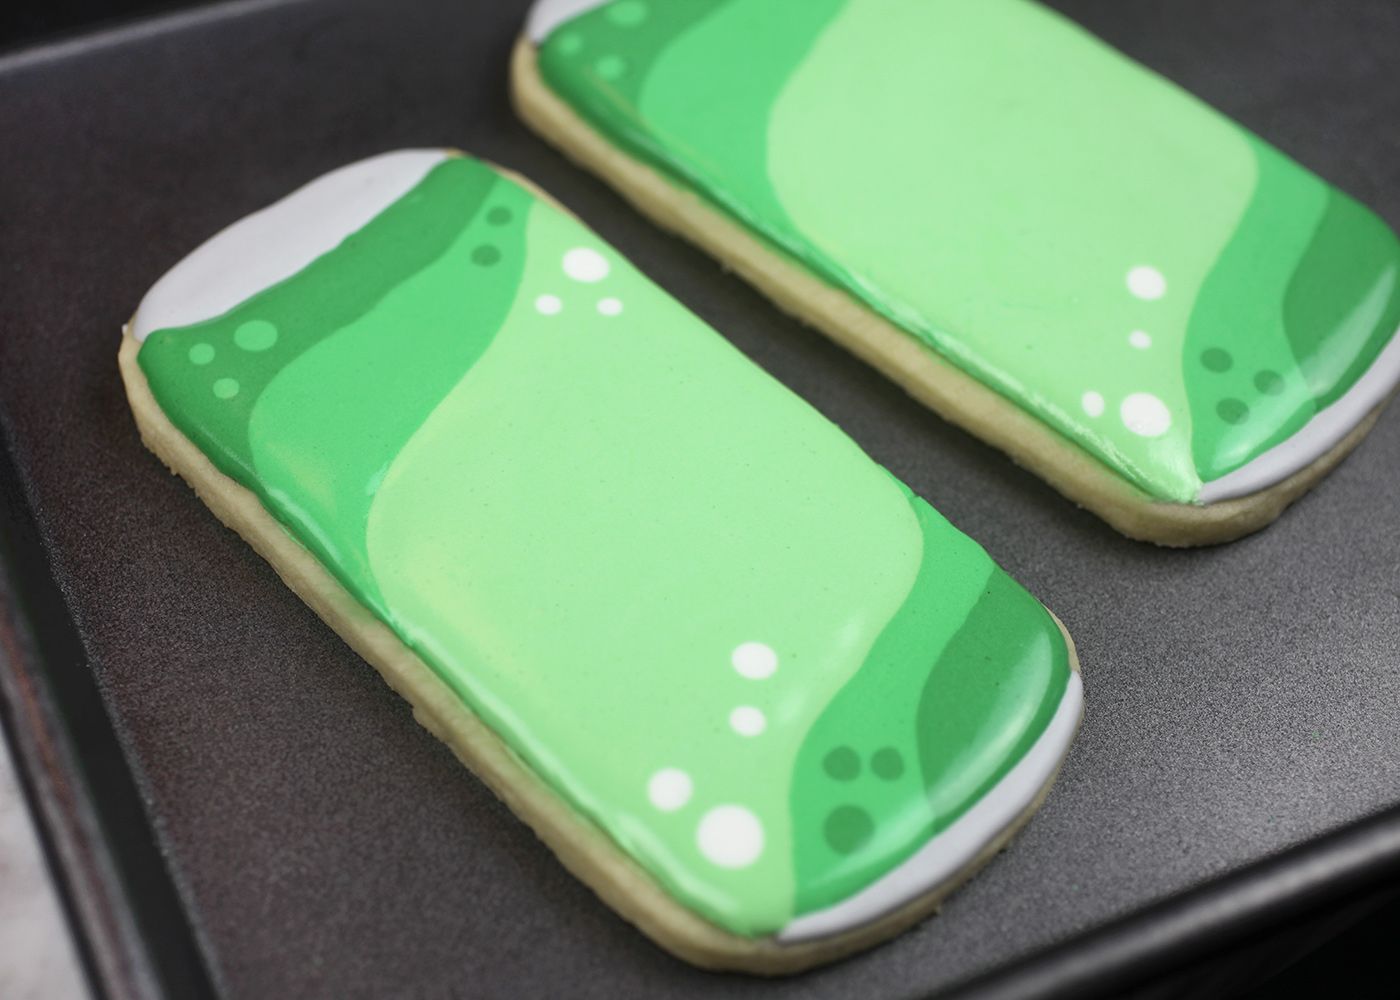
Then, with all my green shades ready to go, I started with the lightest color green in the middle of the can and then filled in the medium green on either side of the light green while the icing was still wet to give it a seamless look. And I repeated the same thing with the darkest shade of green. (Note: As I completed each section, I added a few dots with alternating shades before moving on to the next shade of green.)
Toothpicks are super handy. I used them to even out the icing where there were empty spaces and also to help create pointed ends. Just gently pull it through the icing as shown in the last picture above.
Now let dry. Dry. Dry. Dry. I would recommend drying overnight.
Now, we’re on to day two.
I used white icing and tinted blue, yellow icing and more gray icing to finish the cans.
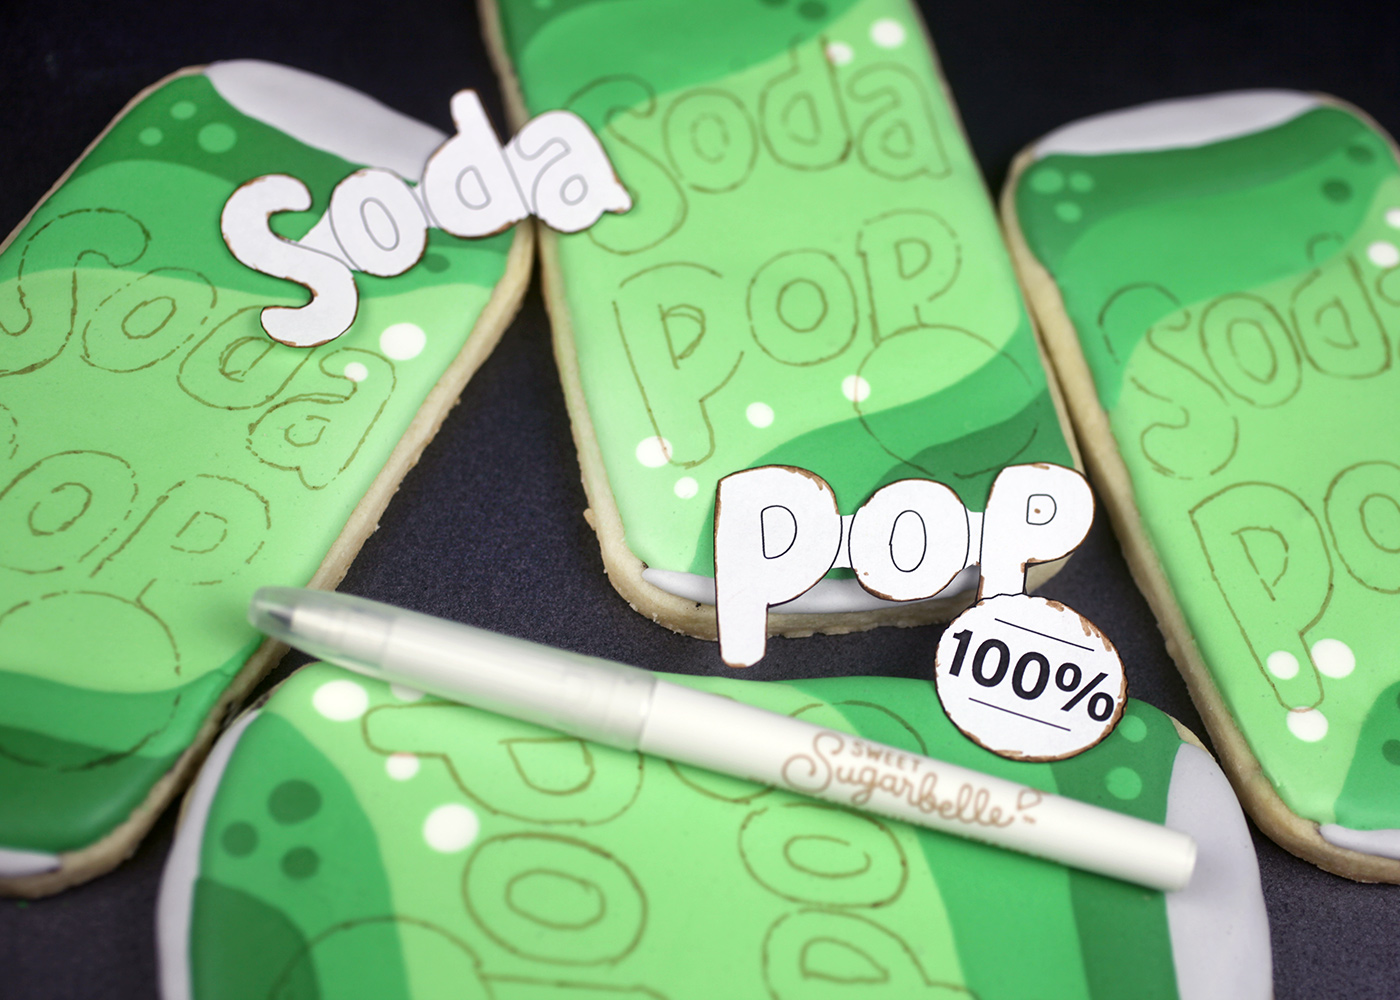
For the words, I used the same template and cut out the word soda as one piece and the word pop with the circle badge as a second piece.
Then I could easily place each word in position and trace right on top of the cookie with an edible ink-writing pen. I used Sweet Sugarbelle’s pens here because they have a really thin tip.
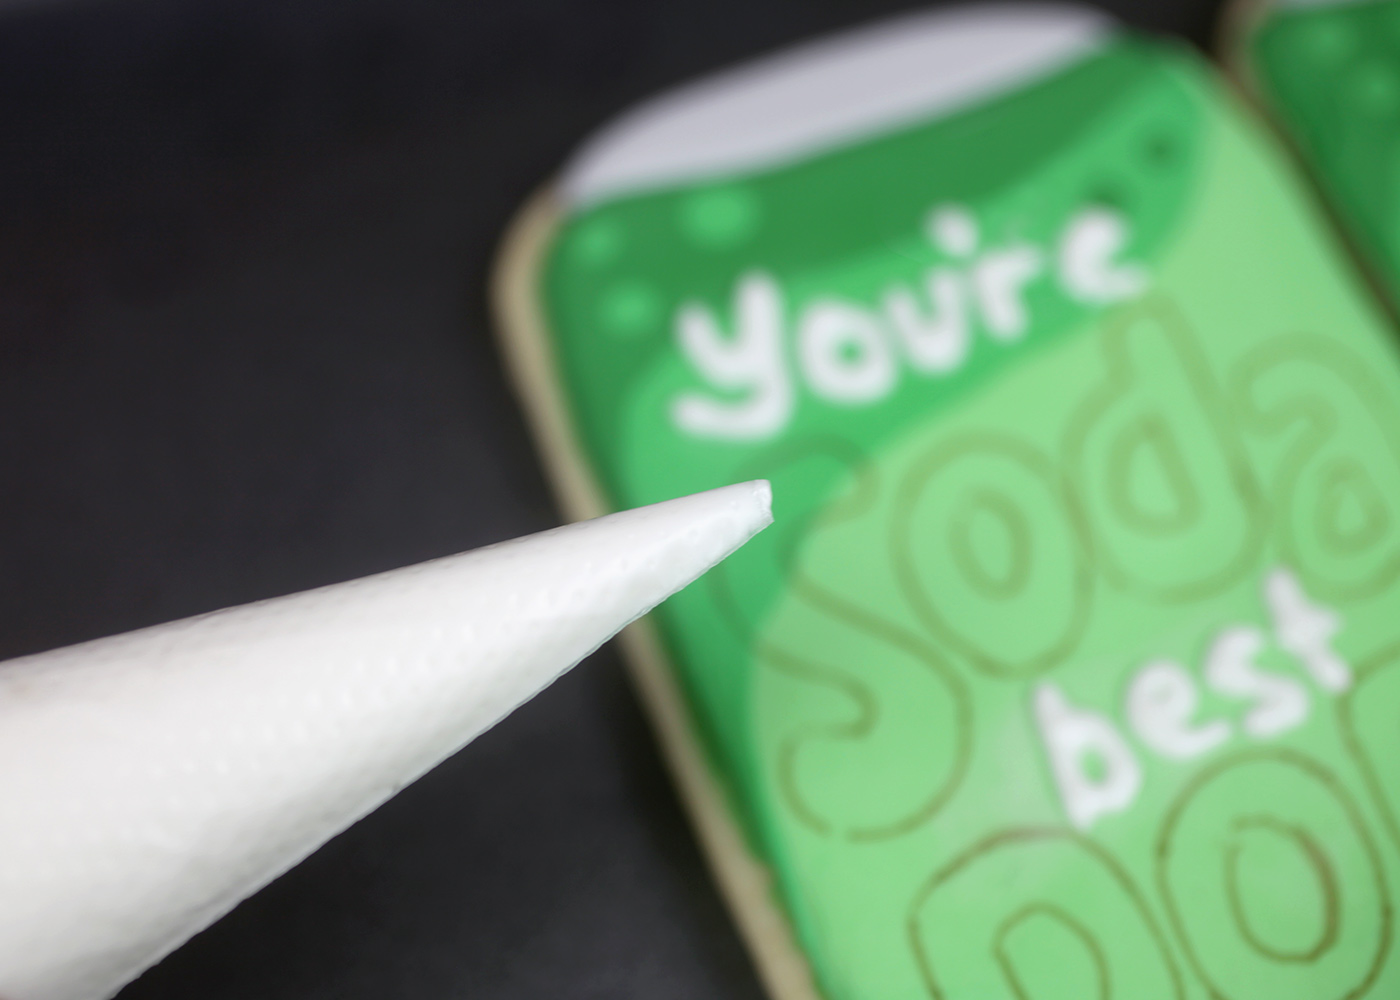
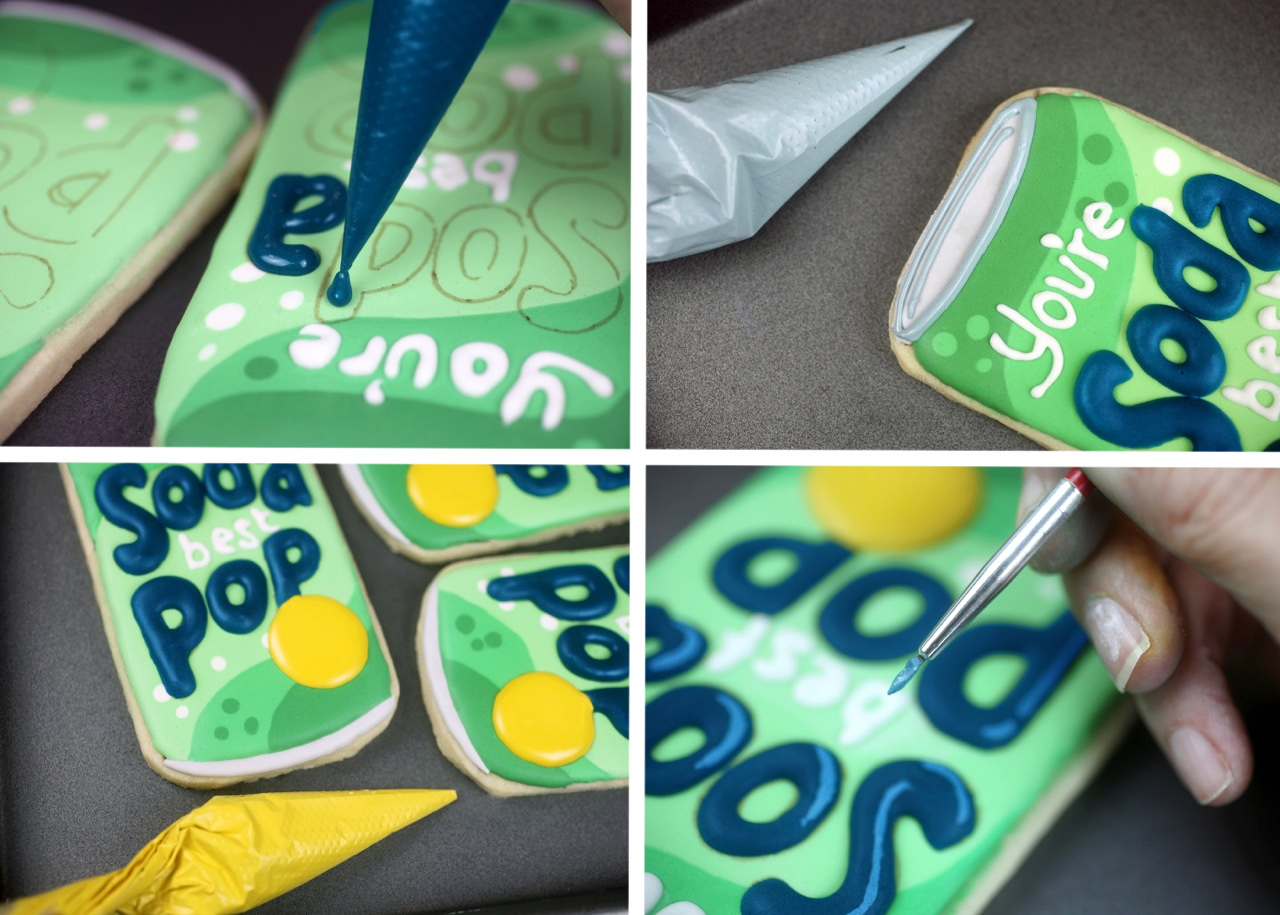
You’re best … I tried to do mine to pipe these words around the other letters.
Oh and I used tipless decorating bags to pipe everything by the way. They’re pretty handy. But me and lettering… not so much. I’m definitely not great at this. But when I would mess up, I would just wipe the icing off and start over until I got something that was readable. Let the words dry some and then you’re on to the the big letters…
Soda Pop!
I made the blue icing with a thicker consistency so it would not spread, but would also not need to be outlined. Because that would have been a disaster.
Pipe inside the lines and then tint some icing yellow and pipe inside the circle. Outline the lid with more gray royal icing and let everything dry.
When dry, I added a little highlight detail to the big letters by lightening the remaining blue royal icing with white icing color and using a small paintbrush to gently paint highlights on the letters.
For the final touch I used an orange edible ink-writing pen to write inside the circles because after piping the white letters I knew I wouldn’t be able to make them look straight enough. The pens are much easier to control and you could even use them for the other small words if you want. Here’s the color assortment for reference.
You’re so da best Pop!!! Enjoy and Happy Father’s Day to all the dads out there!
from bakerella.com https://ift.tt/2JFT9uH


No comments:
Post a Comment