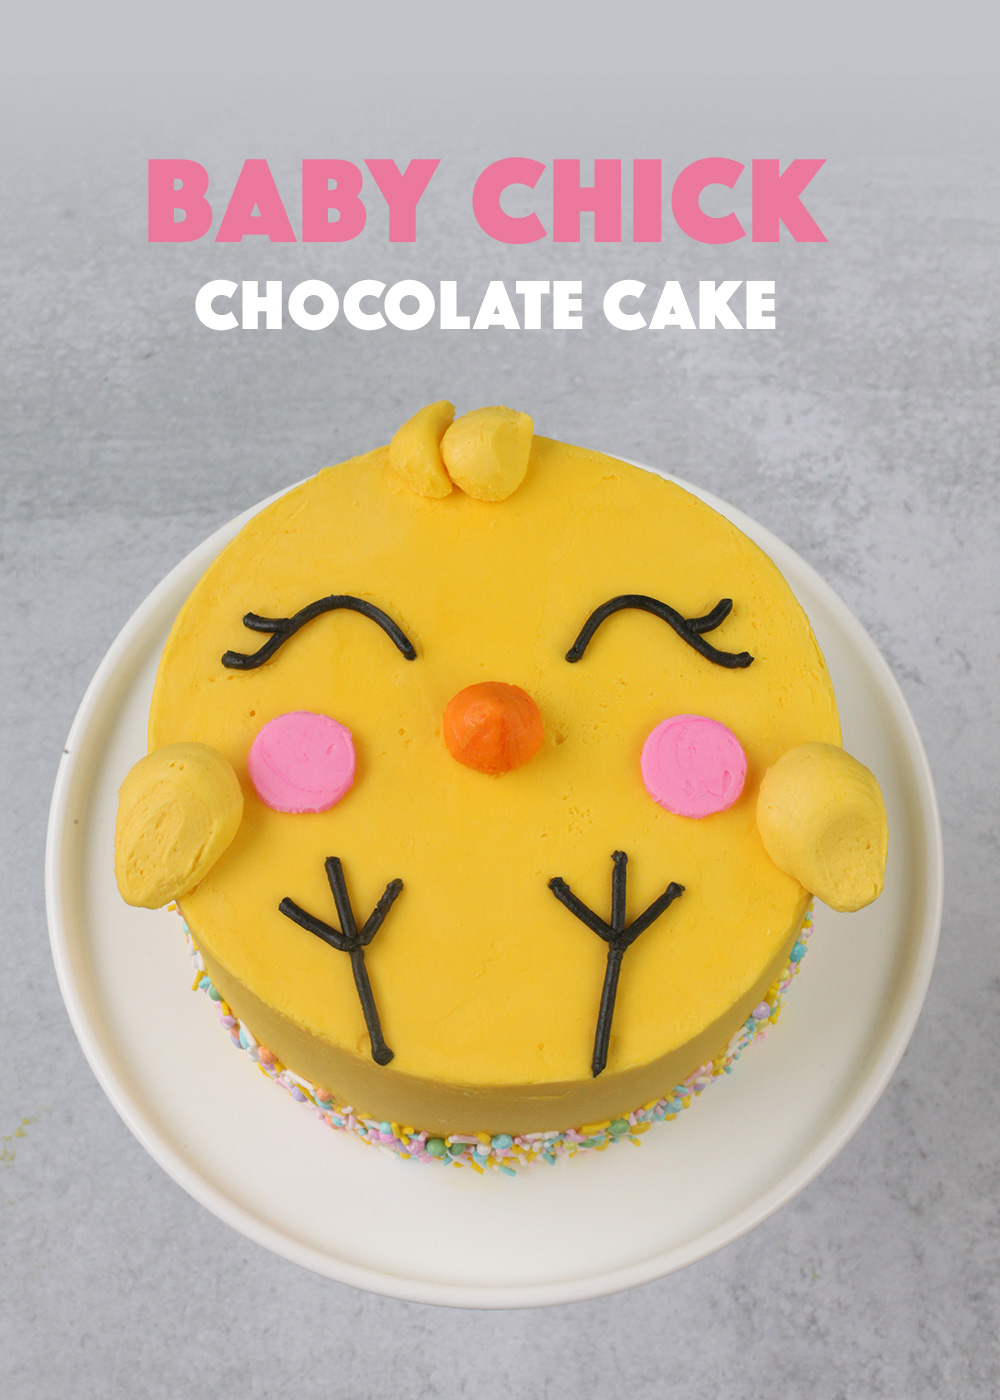
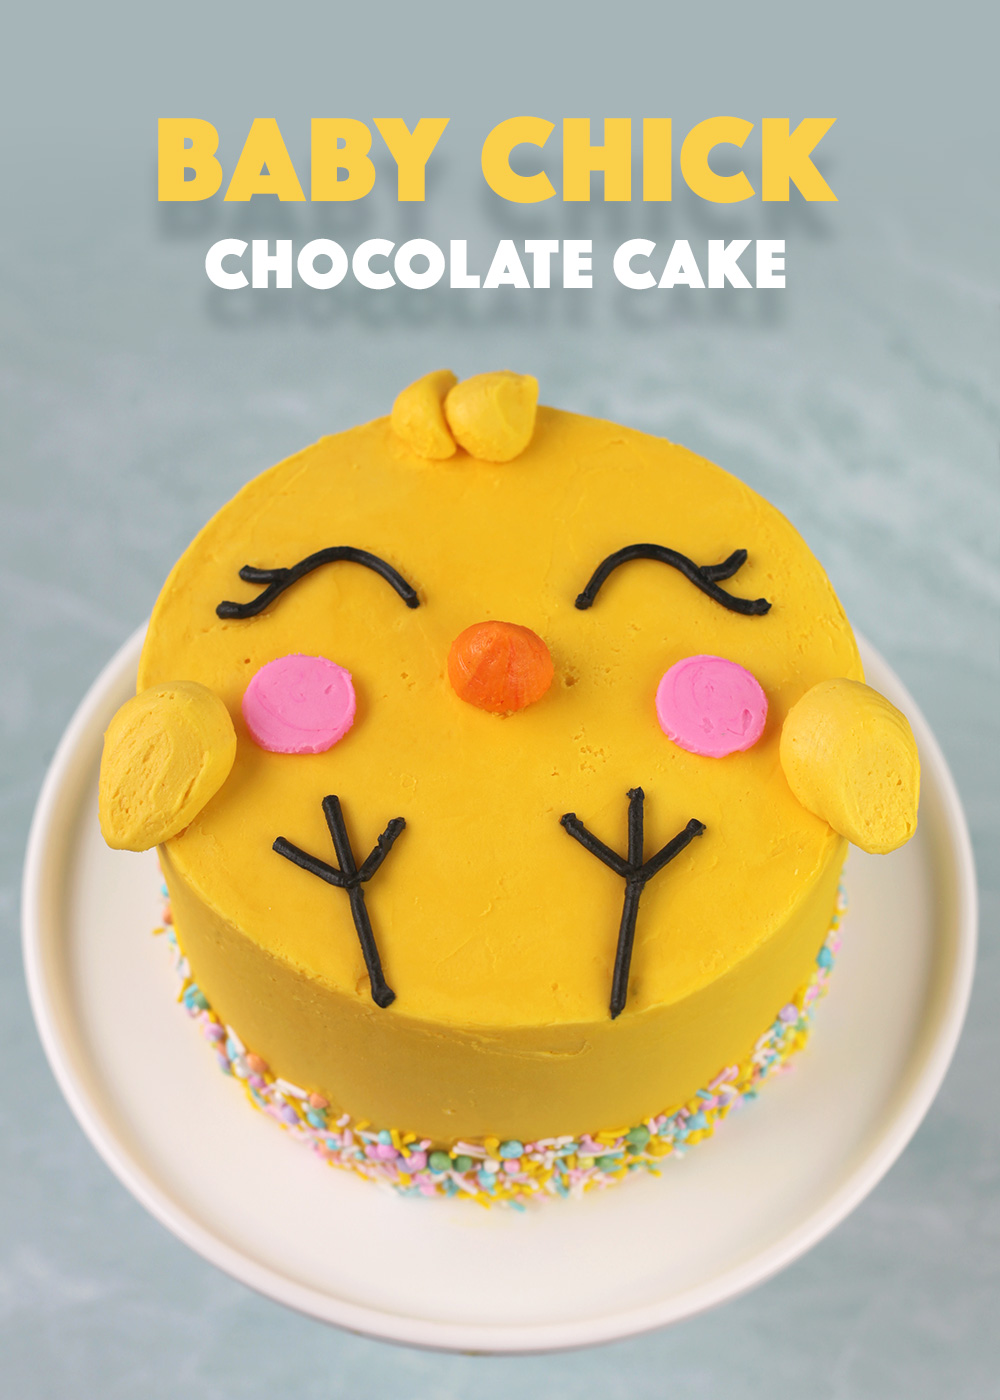
I finally decorated a cake. It’s been forever and I don’t really know why other than I enjoy decorating little treats. I guess I feel pressure to get a design right and with a cake you only have the one shot, but with mini treats, I can make lots of mistakes. But not today. Not with this cake. I’m really happy with how cute this little yellow chick chocolate cake turned out.
I used this chocolate recipe and baked it in two 6-inch cake pans instead of the 9-inch that the recipe calls for. The recipe yields enough batter for a 6-inch 2-layer cake with enough batter for six regular cupcakes left over. I also made two batches of the frosting to make sure I had enough for decorating.
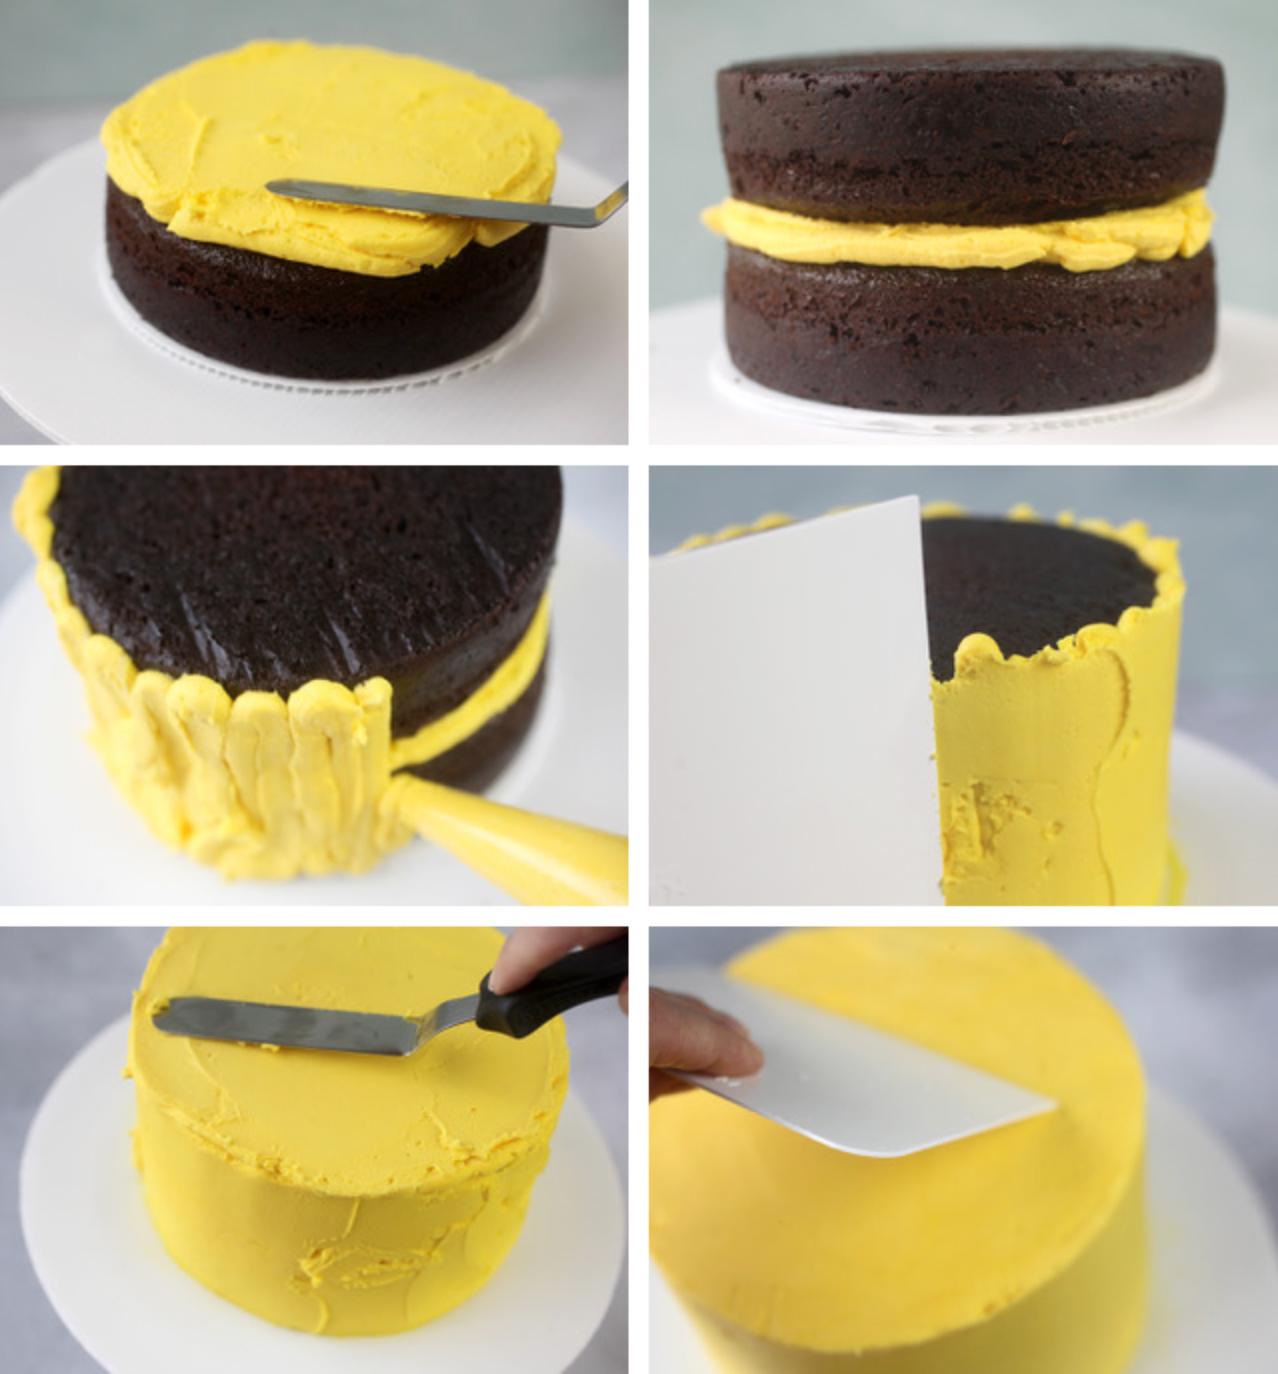
I tinted the buttercream yellow with the consistency somewhat thick and piped frosting on the bottom layer first and then the sides before smoothing it out with a cake scraper and offset spatula. I did it this way to eliminate the need for a crumb coat. By piping on a thick layer first and then leveling it out smooth, I was able to avoid getting crumbs in the outside layer of frosting.
It took me a little while since I’ve been out of practice, but I finally got it all smooth.
At this point I thought the chick was going to be cute, but I also wanted to up the springy-ness, so I broke out some of my spring sprinkle medleys from Sweetapolita to decorate a band around the bottom of the cake.
First I chilled the cake in the freezer for a few minutes to avoid messing up my smooth frosting. Then I wrapped a piece of wax paper around the cake and taped it so it would be secure. Since the cake was chilled and firm on the outside, the wax paper wouldn’t mess it up.
Then I gently pressed the sprinkles into the frosting over a cookie sheet pan so it would catch any stray sprinkles that fell off.
When you’re done. Gently remove the wax paper.
So pretty! Sweetapolita has the cutest color combinations.
Okay, now that that’s done, it’s time to decorate. Before tinting my buttercream frosting yellow. I reserved some to color orange for the beak, pink for the cheeks and black for the eyes and feet. And I also made sure to save some of the yellow frosting to use for wings.
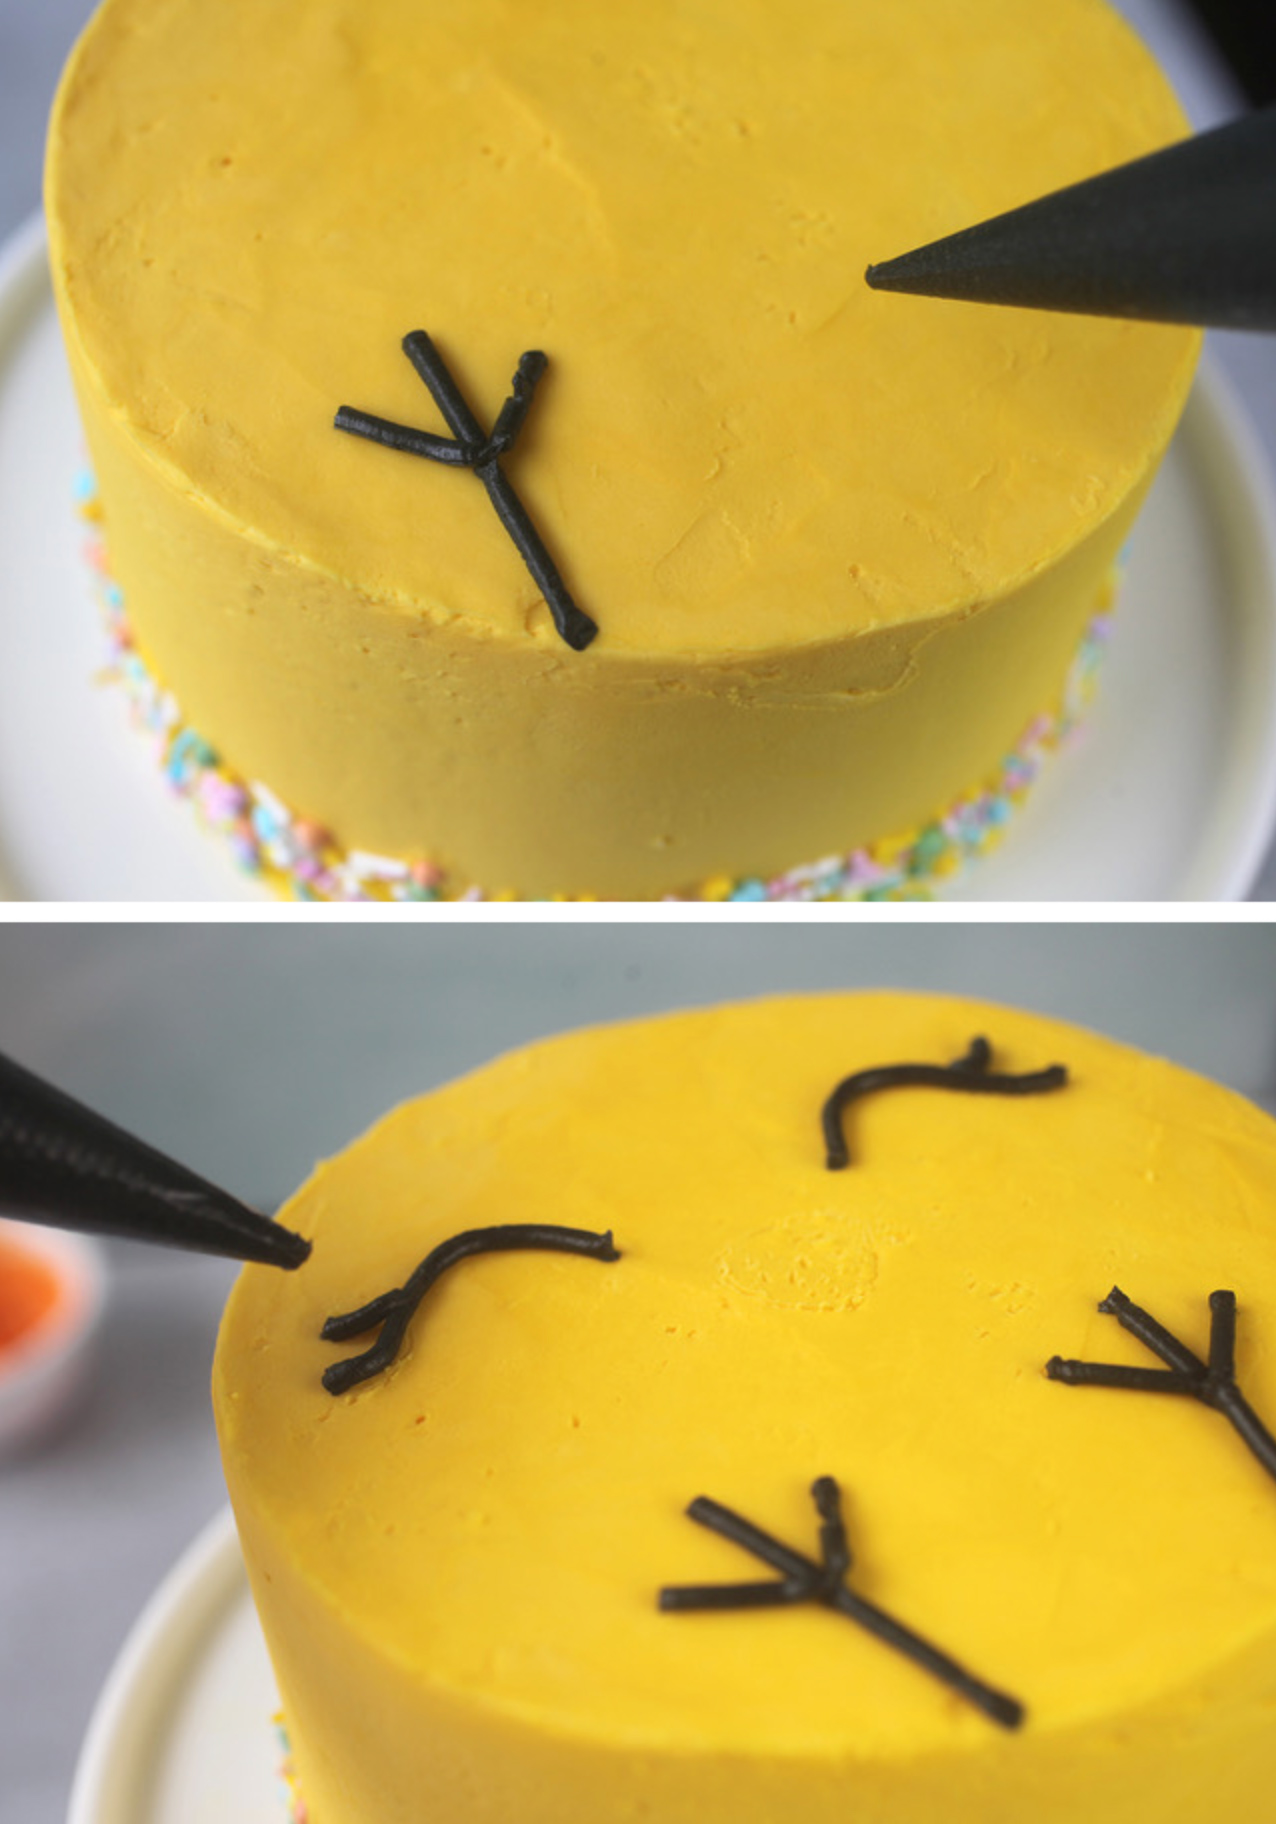
I started with the eyes and feet first. Just pipe black frosting on top of the cake. If you want to be really exact, try using a toothpick to gently make marks in the frosting for starting and stopping points.
Next… the beak. I piped orange dollops on a piece of wax paper and placed in the freezer for a few minutes to firm up so I could shape it. Sorry, forgot to take a photo, but here is the finished beak in place.
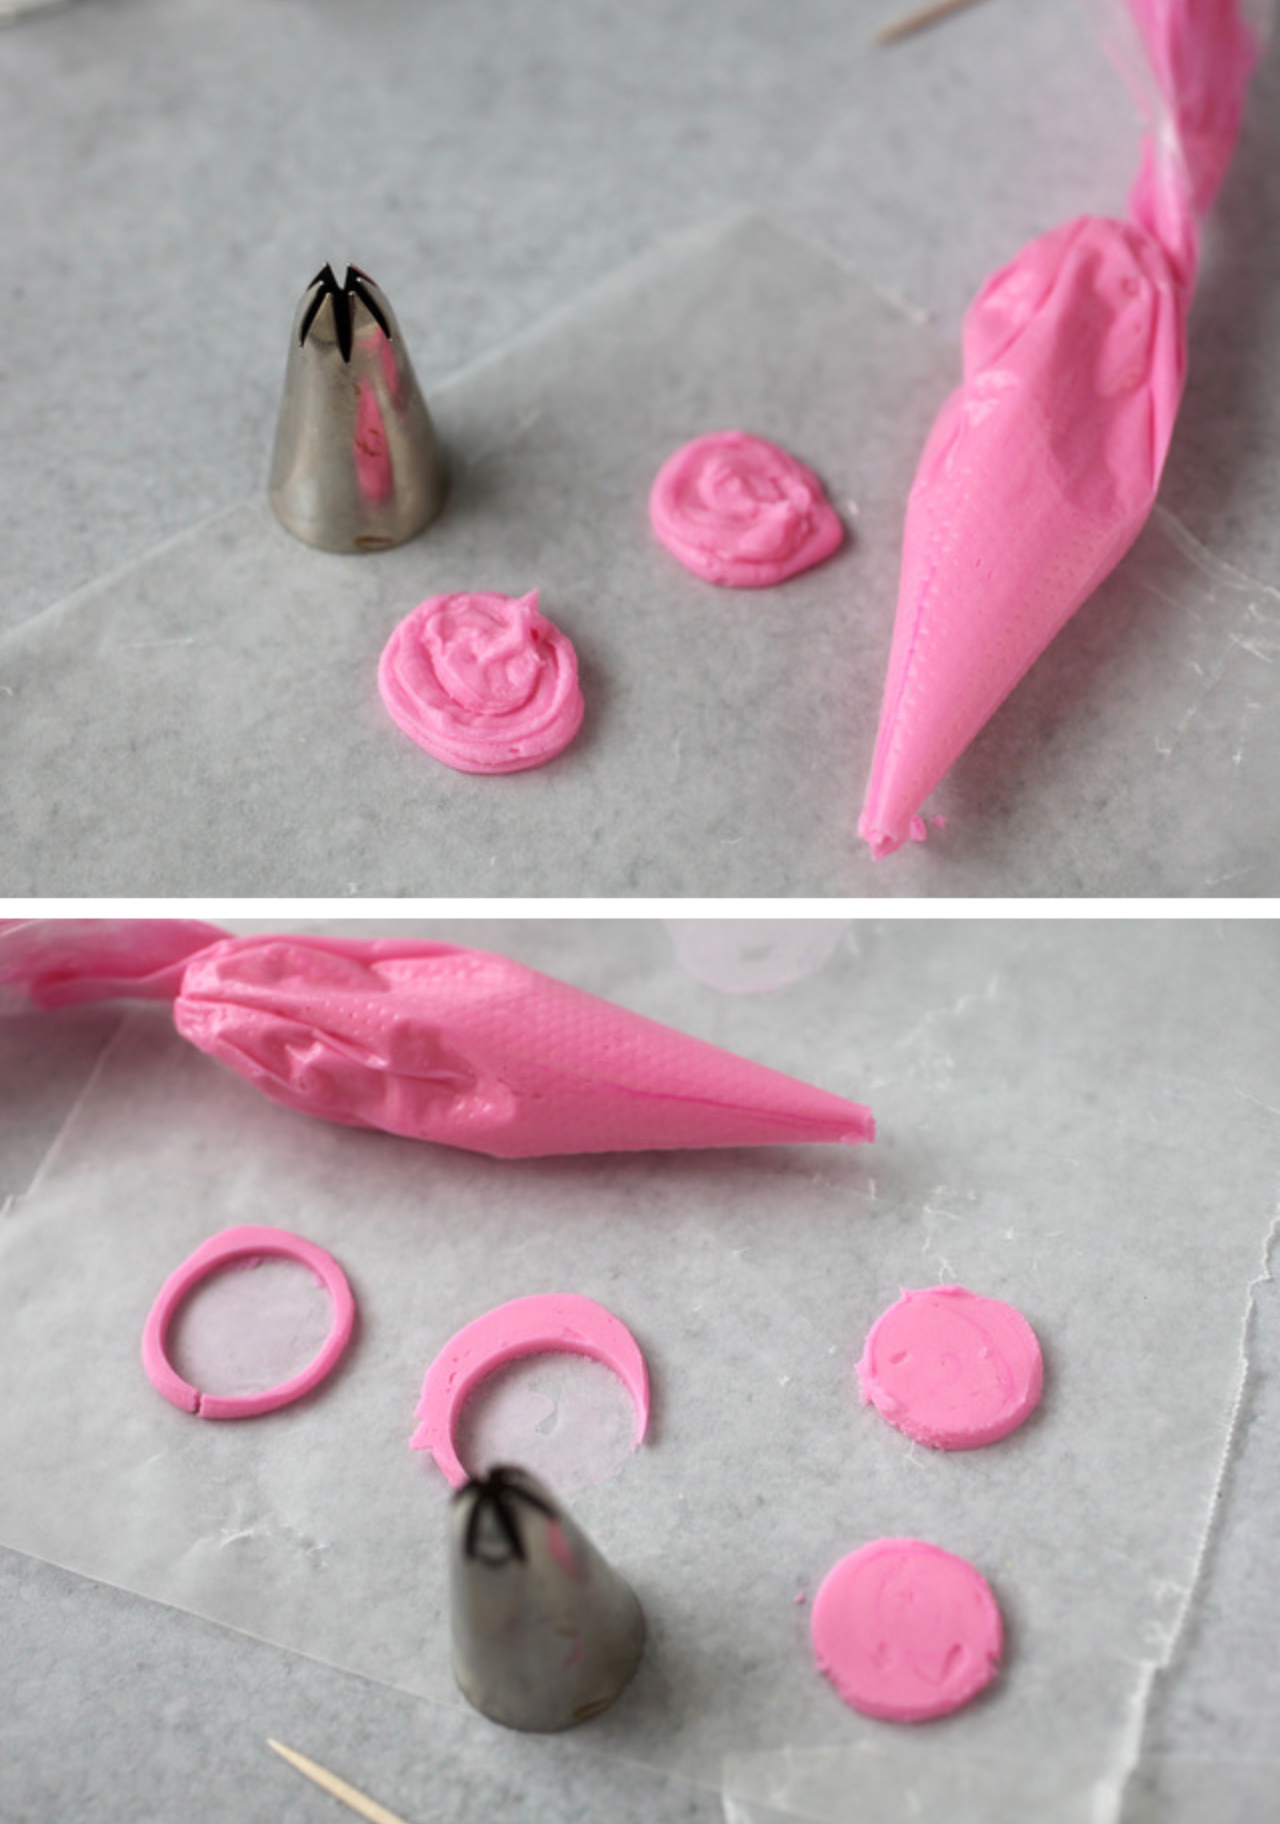
I also piped pink frosting on wax paper for cheeks. I knew I wouldn’t be able to pipe nice circles, so I folded the wax paper over the piped circles and pressed it down so the frosting was even and flat. Then I placed them in the freezer for a few minutes to firm up and used a large decorating tip to cut out perfect flat little circles for the cheeks.
Chill them again if necessary before removing from wax paper and then simply lift them off and place in position.
Wings! Again, I piped frosting on wax paper and chilled it so I could reshape the frosting slightly into two pretty similarly shaped wings.
Gently attach to the cake to see the whole look come together.
You can even add a few dollops for feathers sticking up on top of this sweet little chick’s head.
Look at those sprinkles. I guess it’s time to cut it open.
But I can’t! It’s too cute.
But I did! And it was really, really good.
Hope you enjoy! Chirp!
from bakerella.com https://ift.tt/2Ua14Wm







No comments:
Post a Comment