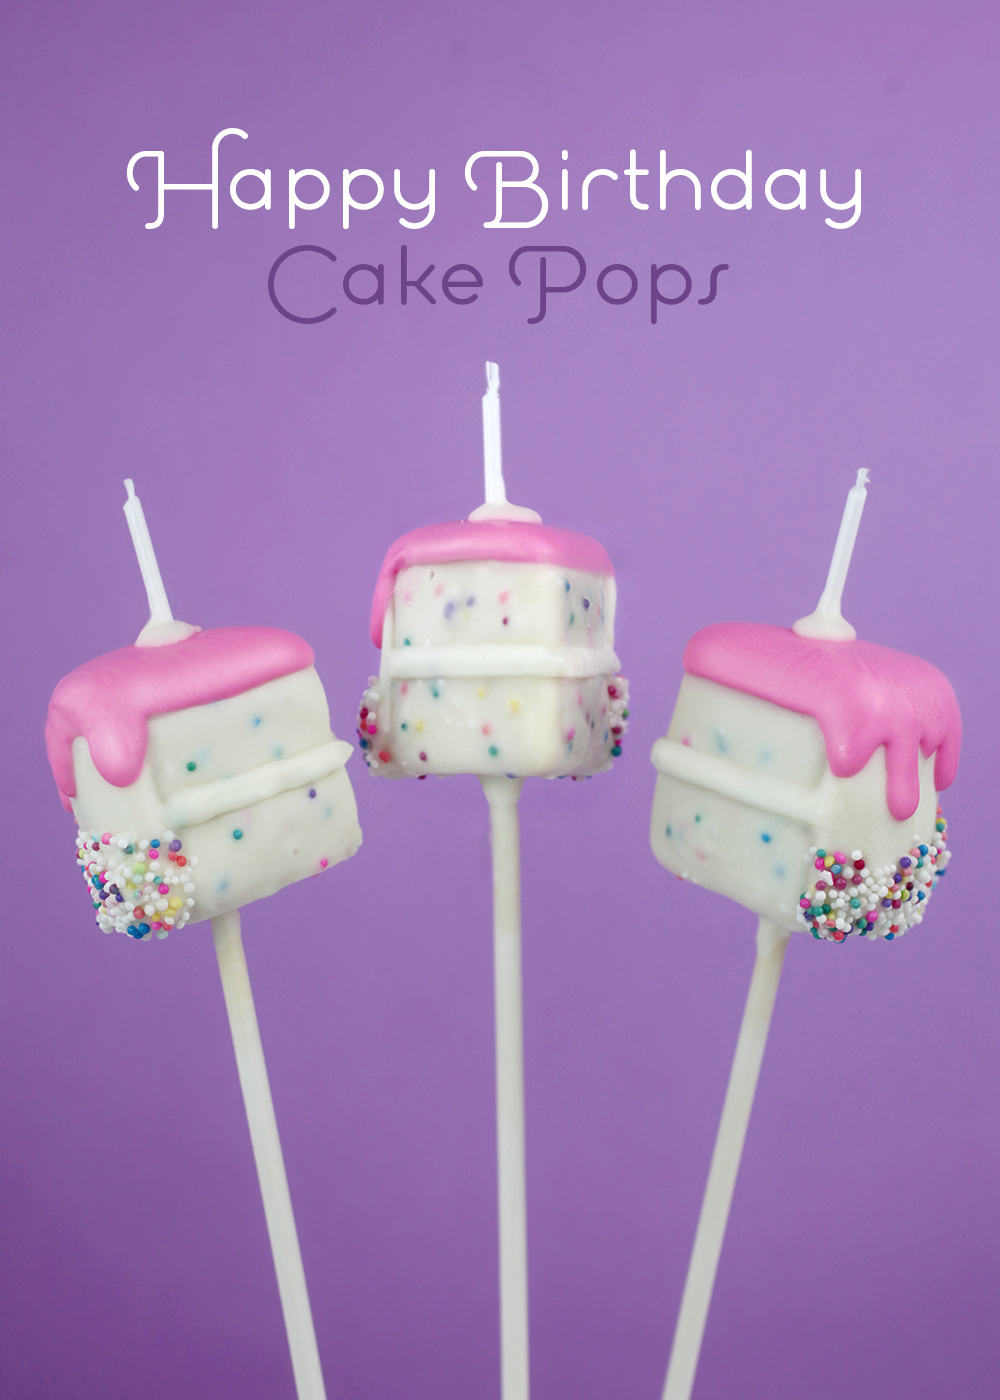
Cake Pops turned 10 years old this week (can you believe it?) and today is also National Cake Pops Day! YAY!!! So, to celebrate I decided to make what else but little birthday cake shaped pops.
On January 28, 2008 I posted my first round cake pops here on the blog and then a few days later on February 1 of that year, I posted the first shaped cake pops. These cute cupcakes! They’re the ones that started the cake pop craze and inspired me to teach others how to make them, launching a decade of these diminutive desserts popping up all over the world … at parties, in homes, bakeries, coffee shops, restaurants, churches, schools and more. They’ve been responsible for creating a lifetime of unexpected and wonderful memories for me and I hope they’ve brought you guys some extra happiness along the way, too!
Below is a quick little video with a bunch of the pops I’ve made over the past ten years. Soooo much dipping and decorating… it kinda makes my head hurt thinking about all the hours I’ve spent consumed by these tiny treats. Hope you like this little walk down cake pop lane and if you have a fave, let me know in the comments below. It makes me smile to hear which ones made you smile.
Cake Pops – Ten Years of Tiny Treats from bakerella on Vimeo.
Okay, now let’s make some itty-bitty birthday cakes.
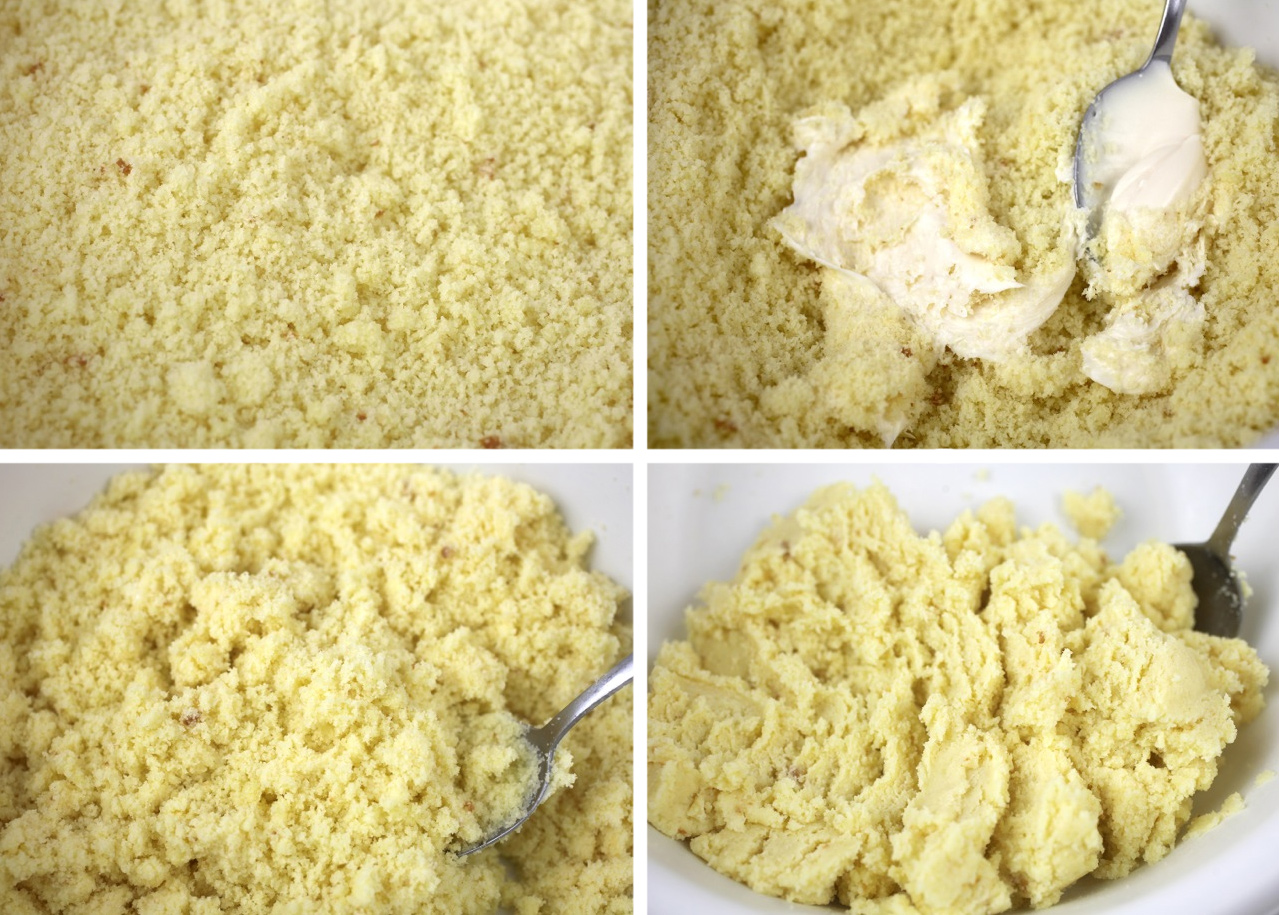
Cake poppers, you know the drill. Cake crumbs. Frosting. And mix. And if you’ve never made pops before, here are the full instructions for my basic cake pops. Follow the directions and then, just shape and decorate them into cakes using the instructions below.
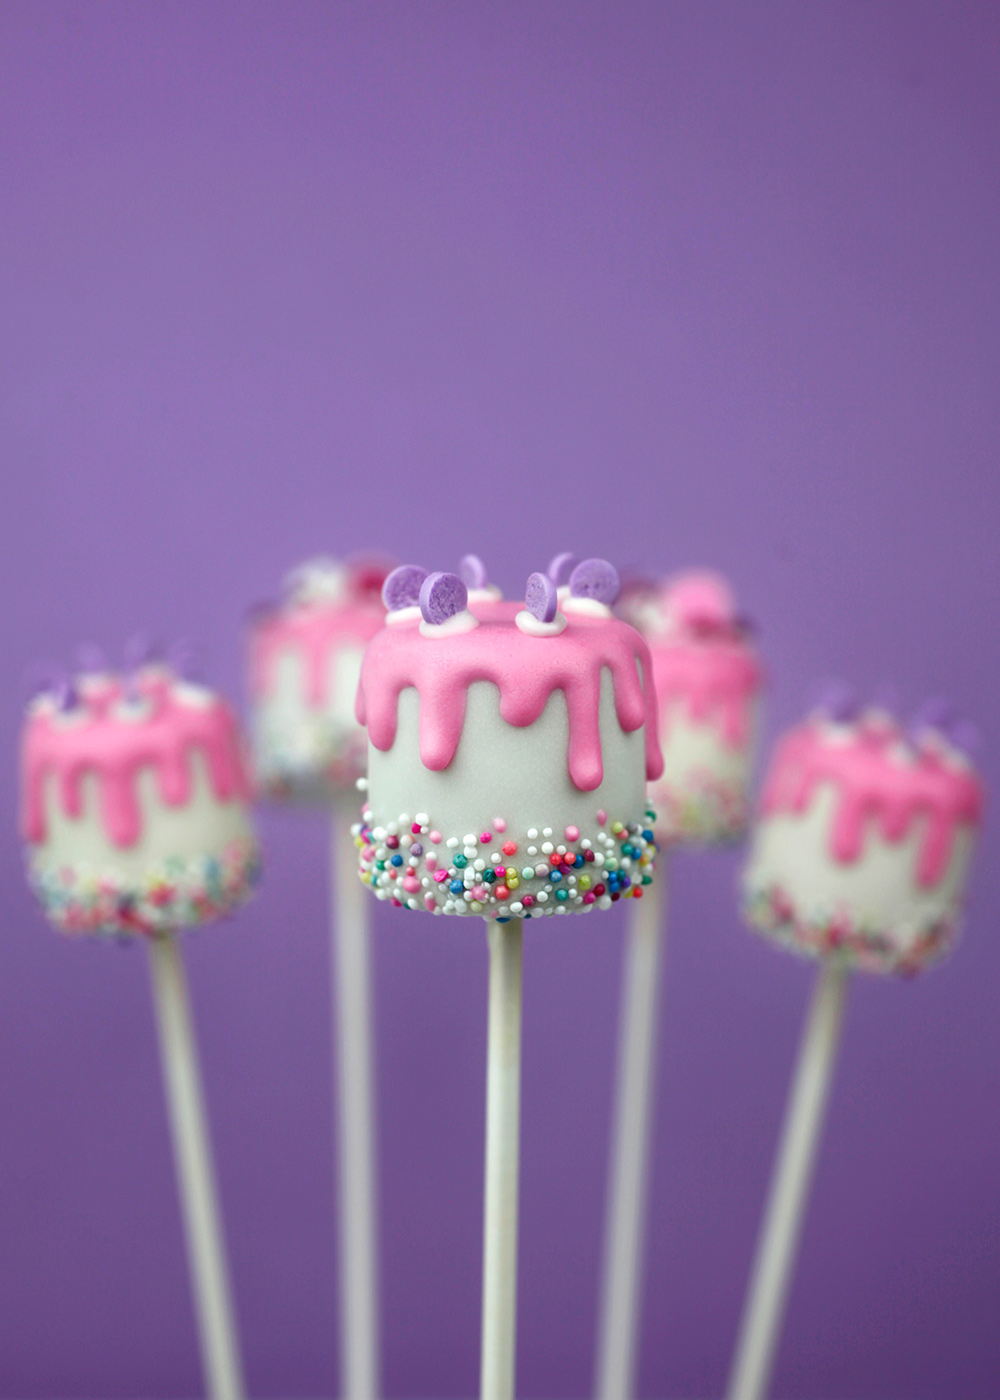
Okay, first up are these little layer cakes. Oh my gosh. Adorable.
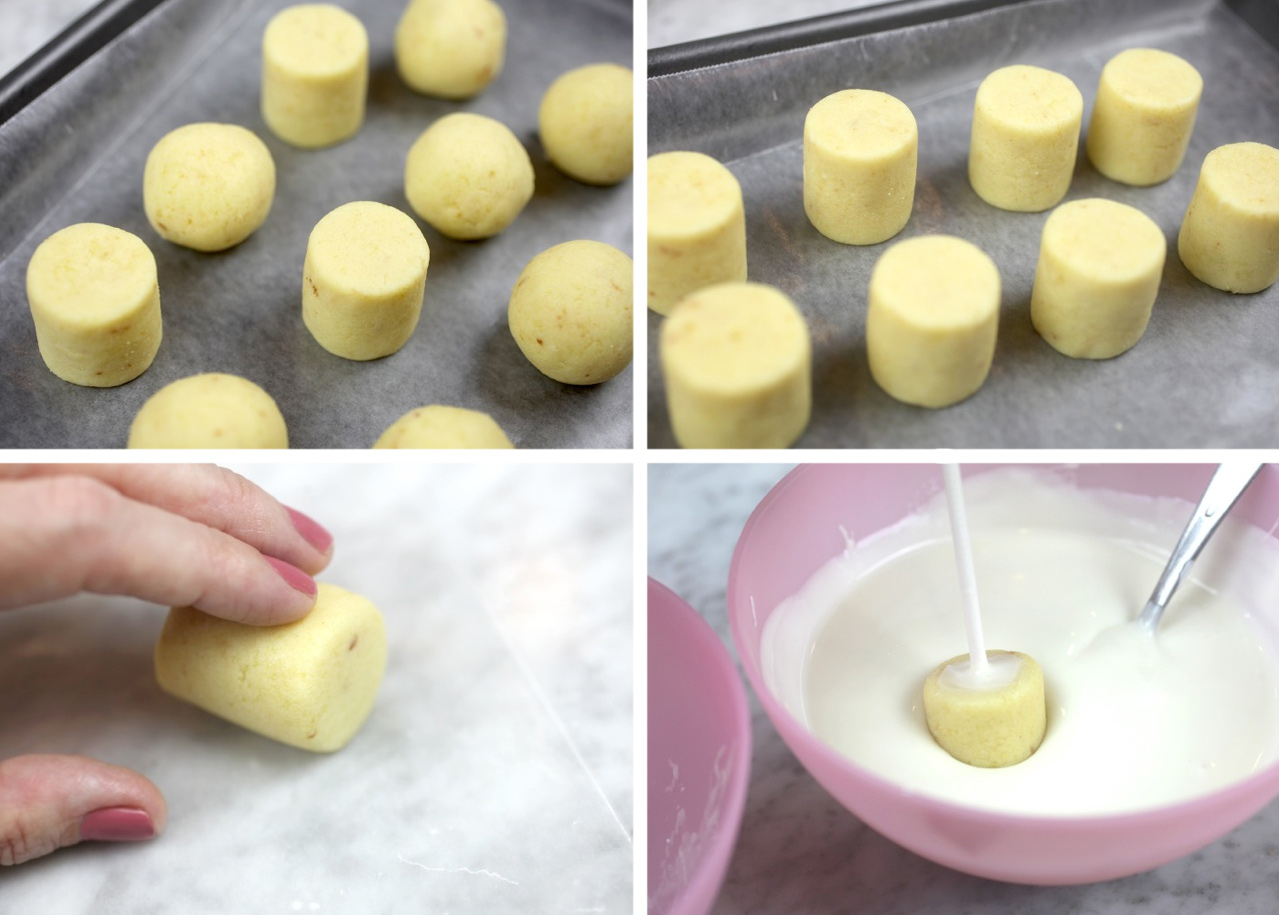
Shape cake balls into short cylinders. Roll, rotate, slide and shape them on a piece of wax paper to help get smooth and sharp edges.
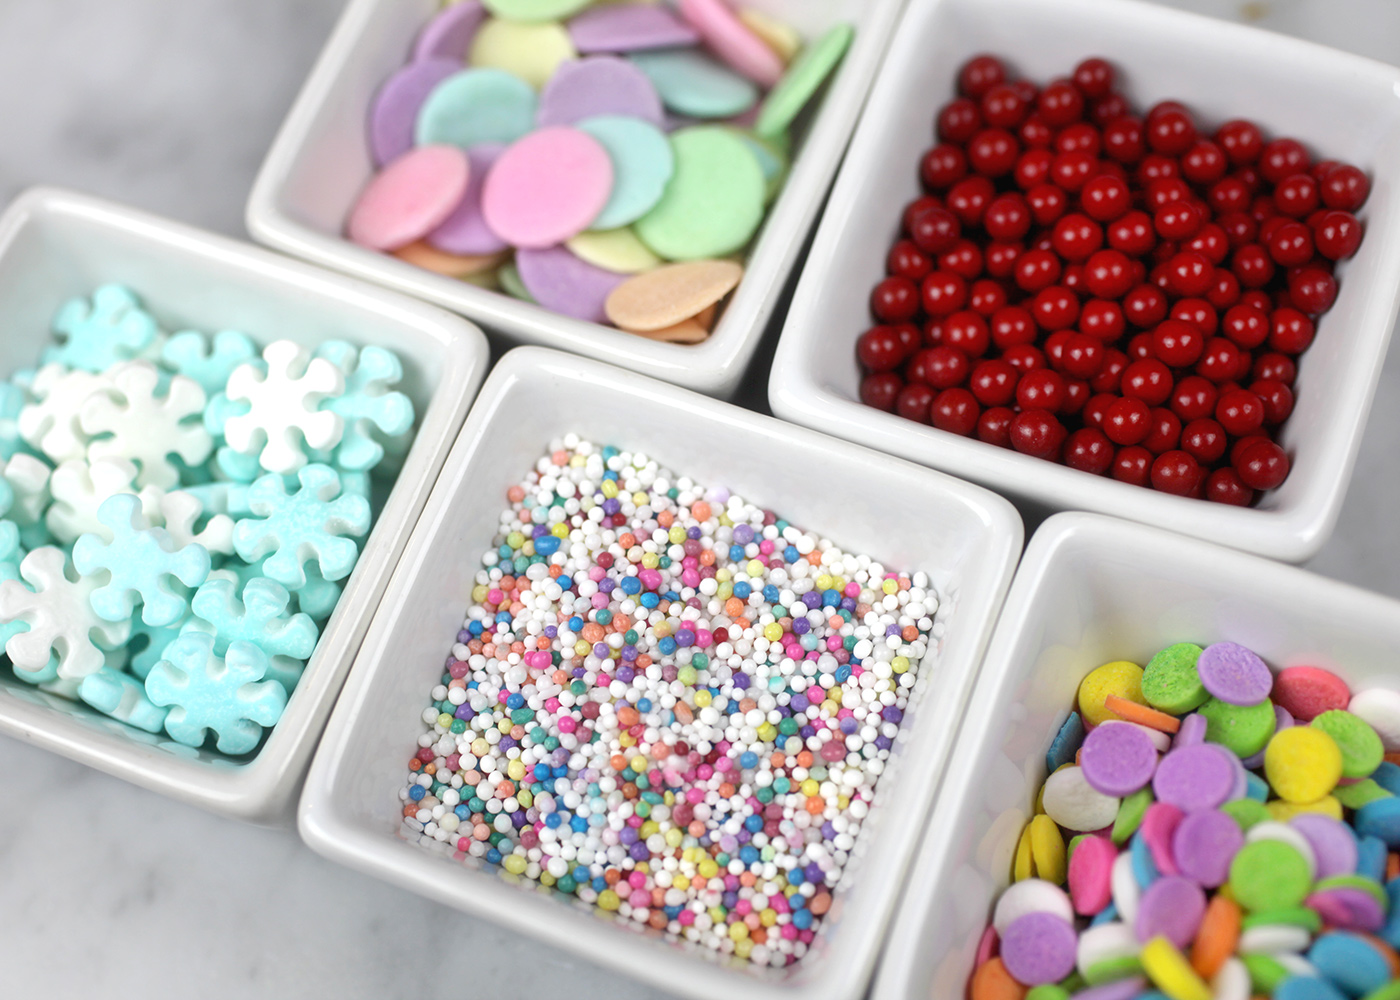
Use an assortment of sprinkles to decorate your cakes.
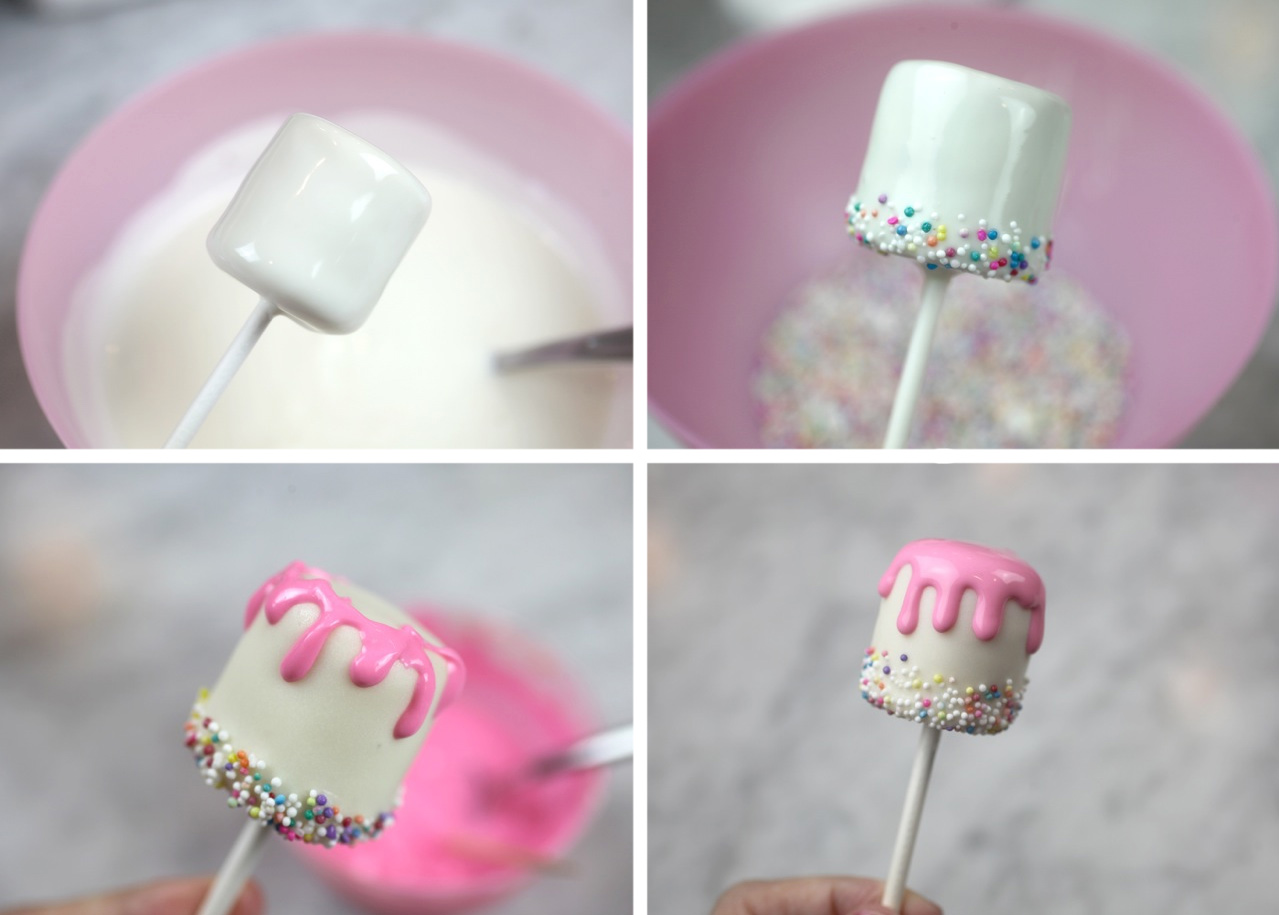
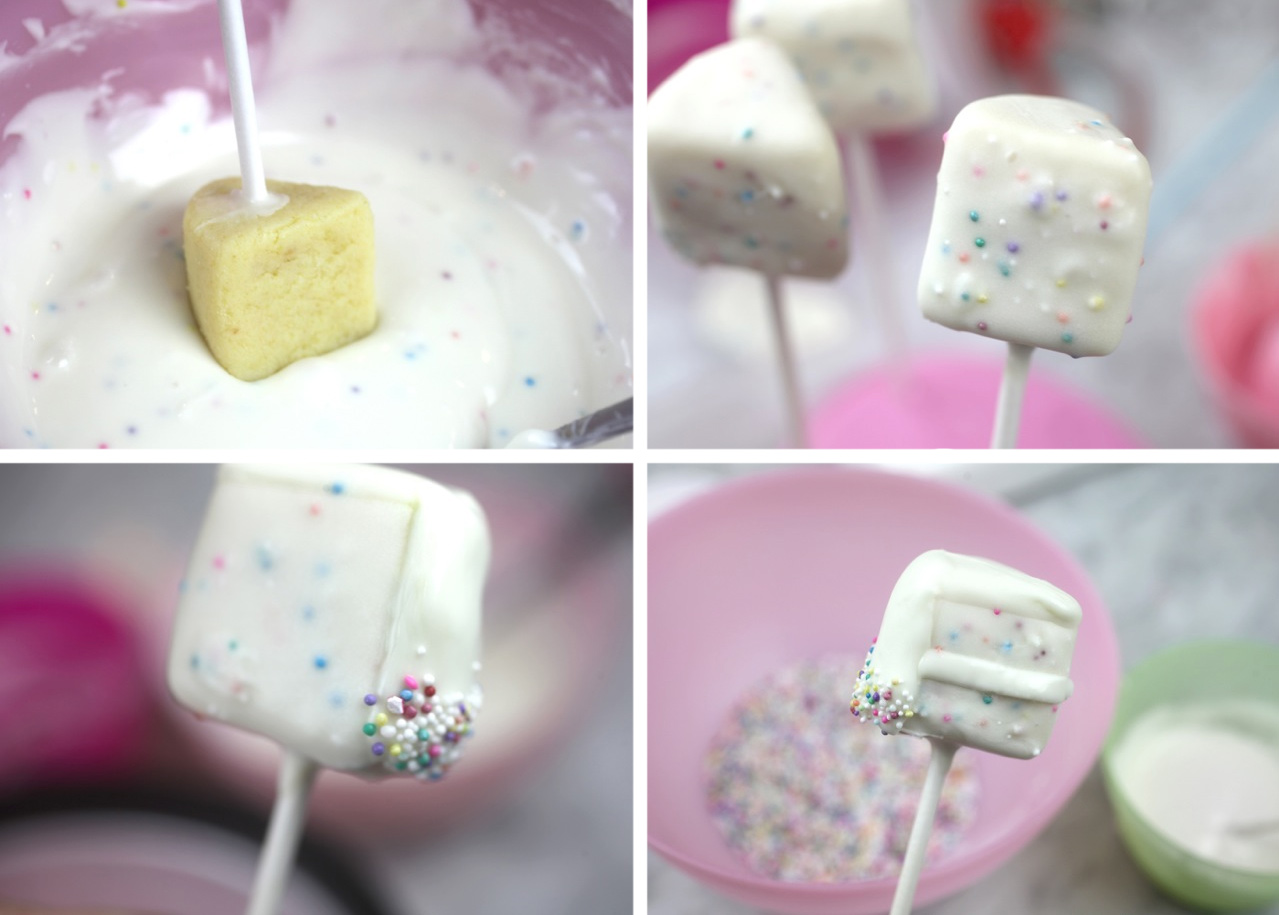
- Dip the pops into melted candy coating. (So white, totally makes them look like marshmallows. In hindsight, I might have switched the colors.)
- To add confetti, carefully sprinkle tiny nonpareils on the bottom of the pop and over a bowl to catch any that fall off. Let dry.
- Now add drips of melted pink candy coating around the top edge of the pop using a toothpick. Then while still wet, dip the very top of the pop in pink coating to create a seamless look between the two areas.
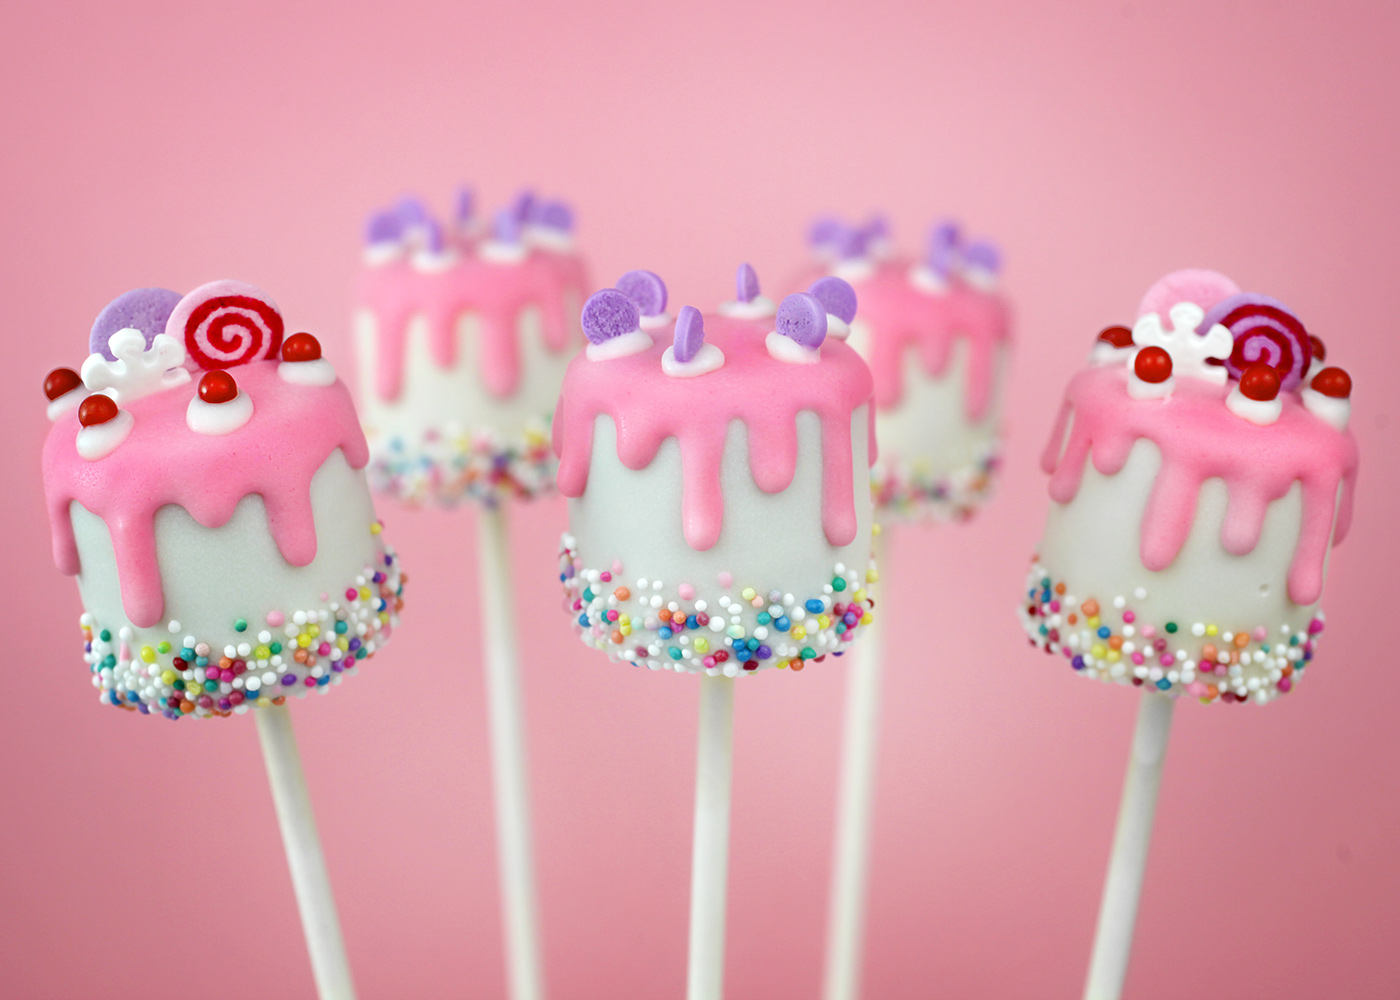
So cute. To add decorations, you can place confetti sprinkles on top using candy coating as glue or insert larger sprinkles into the top of the pop before the pink coating is completely dry.
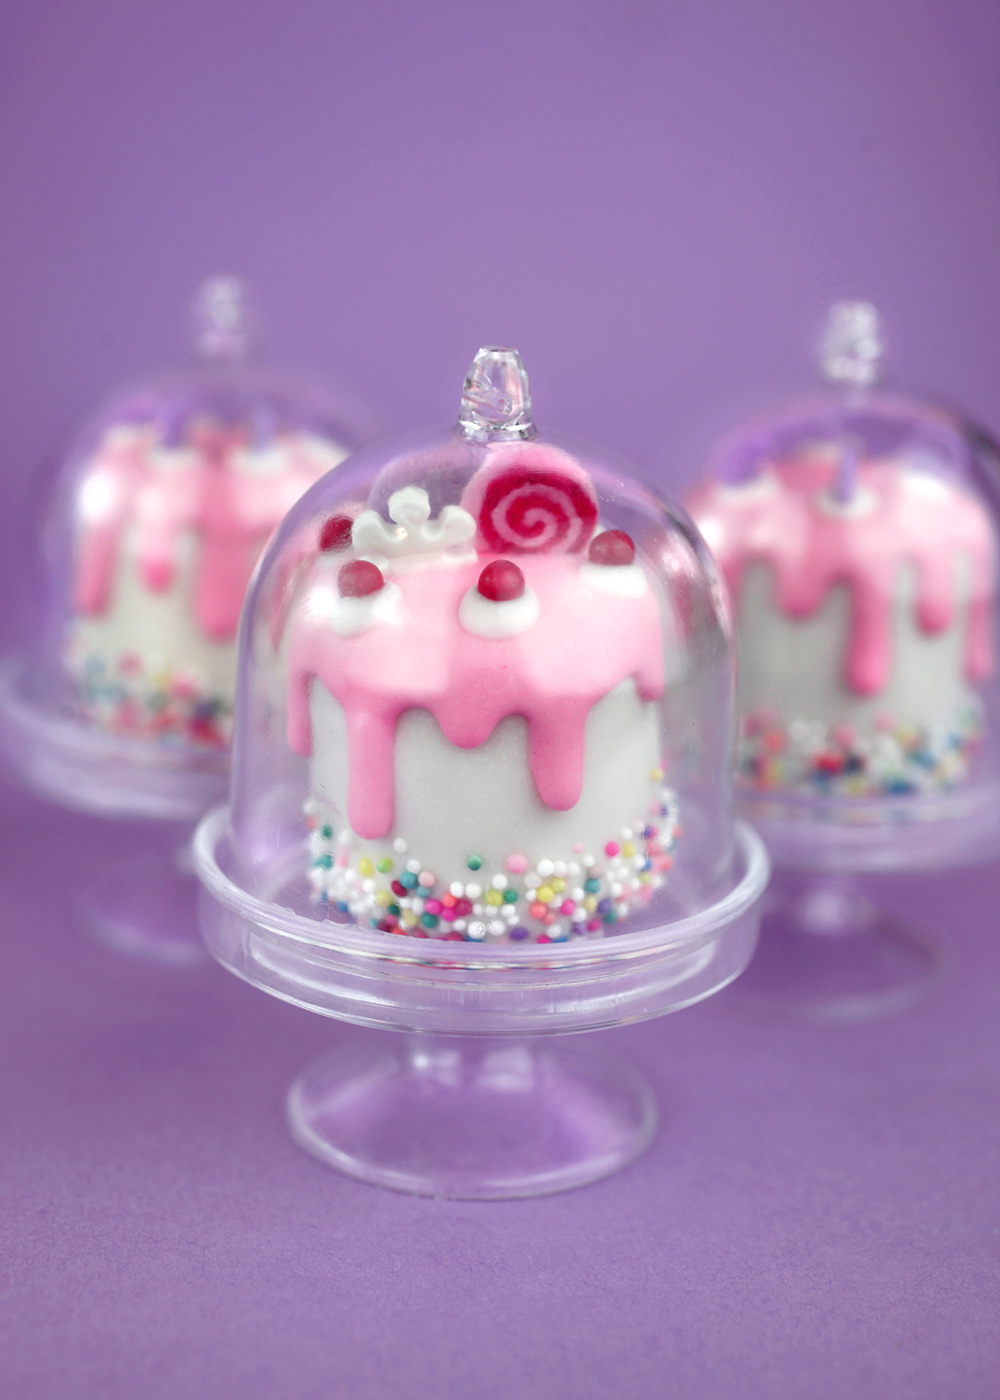
Okay now for some cute overload. Check out these super tiny cake domes. I can’t stand it. These came from a store called the Cake Box on Main in California and are all of 3 inches tall.
Okay, cake slices are up next.
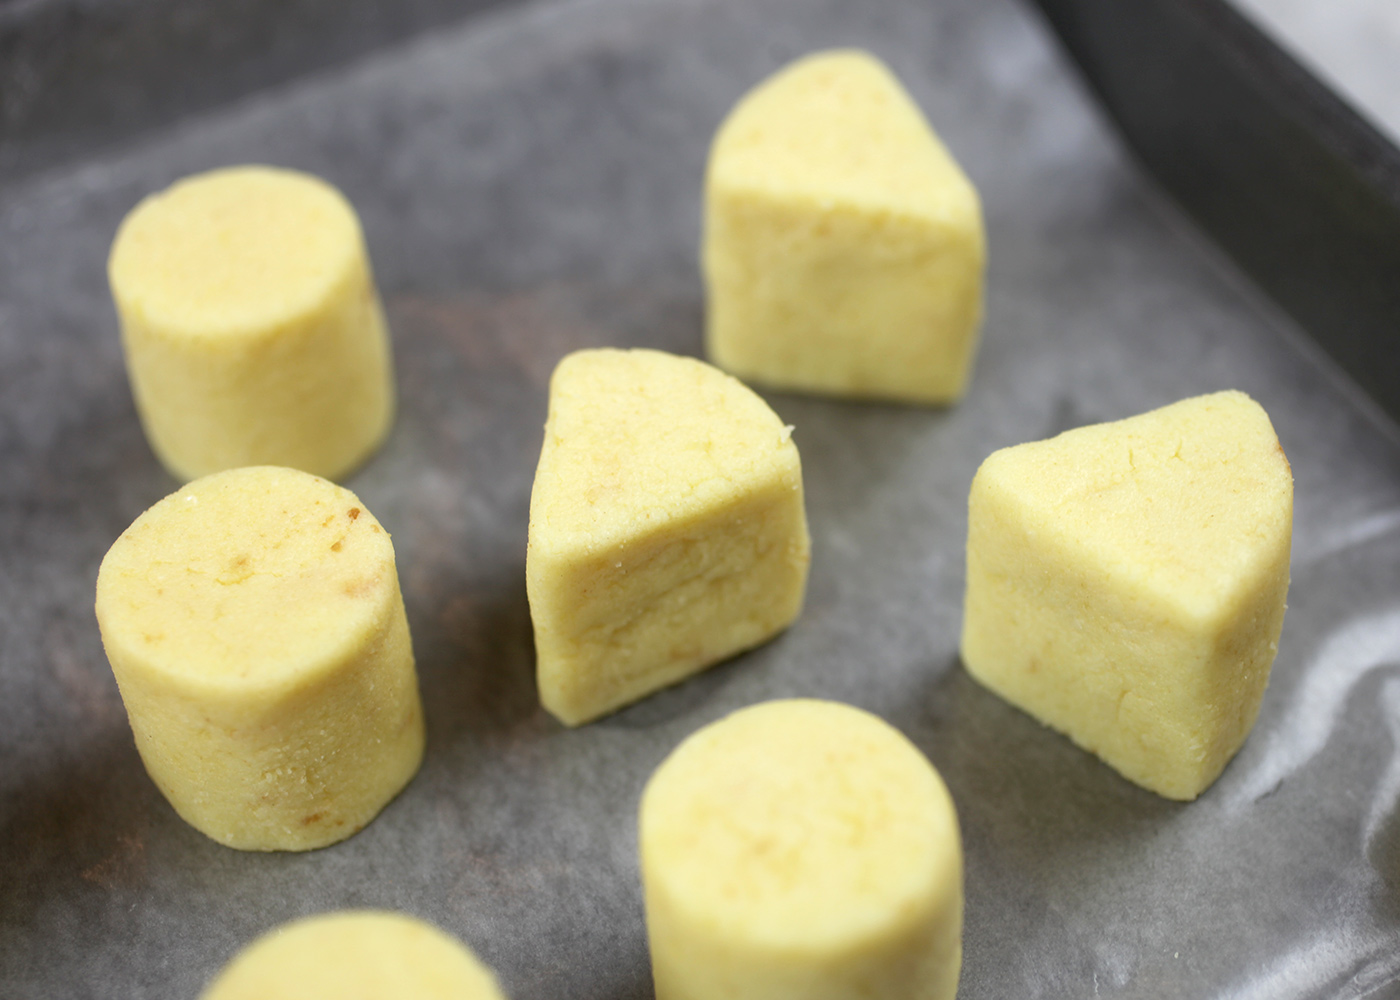
Shape balls into wedges for dipping.
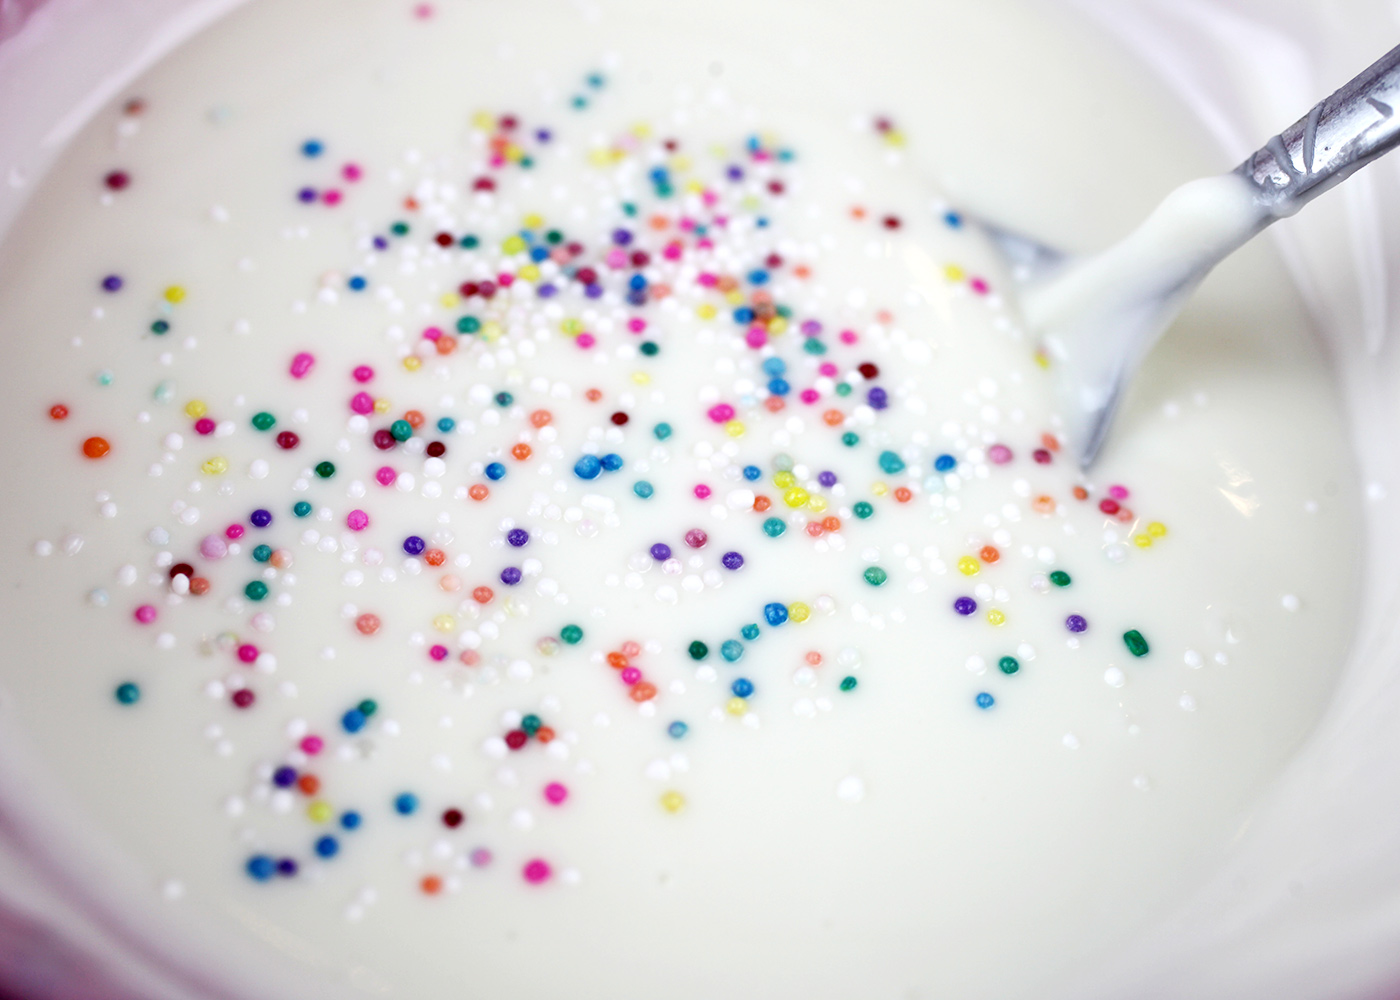
I added the same tiny nonpareils into the candy coating to simulate confetti cake on the inside as well.
- To decorate, dip the pops and let them dry.
- When dry, dip the back and top of the cake slice in more melted white candy coating to create a distinguishable second layer for the frosting. Use the tip of a toothpick to clean up any wonky edges.
- Add nonpareils onto the bottom and back side of the cake slice.
- Then draw a line down the middle of each side of the slice to create the look of layers using a toothpick dipped in the melted white candy coating.
- For the tops draw drips using a toothpick dipped in melted pink candy coating and then dip the tops while the drips are still wet to create a seamless look for the icing.

A piece of cake! I also cut slender candles into 1-inch sections and attached them to the tops with melted candy coating to help finish off the look.
Enjoy and Happy Cake Pops Day!
from bakerella.com http://ift.tt/2DSqiB6
No comments:
Post a Comment